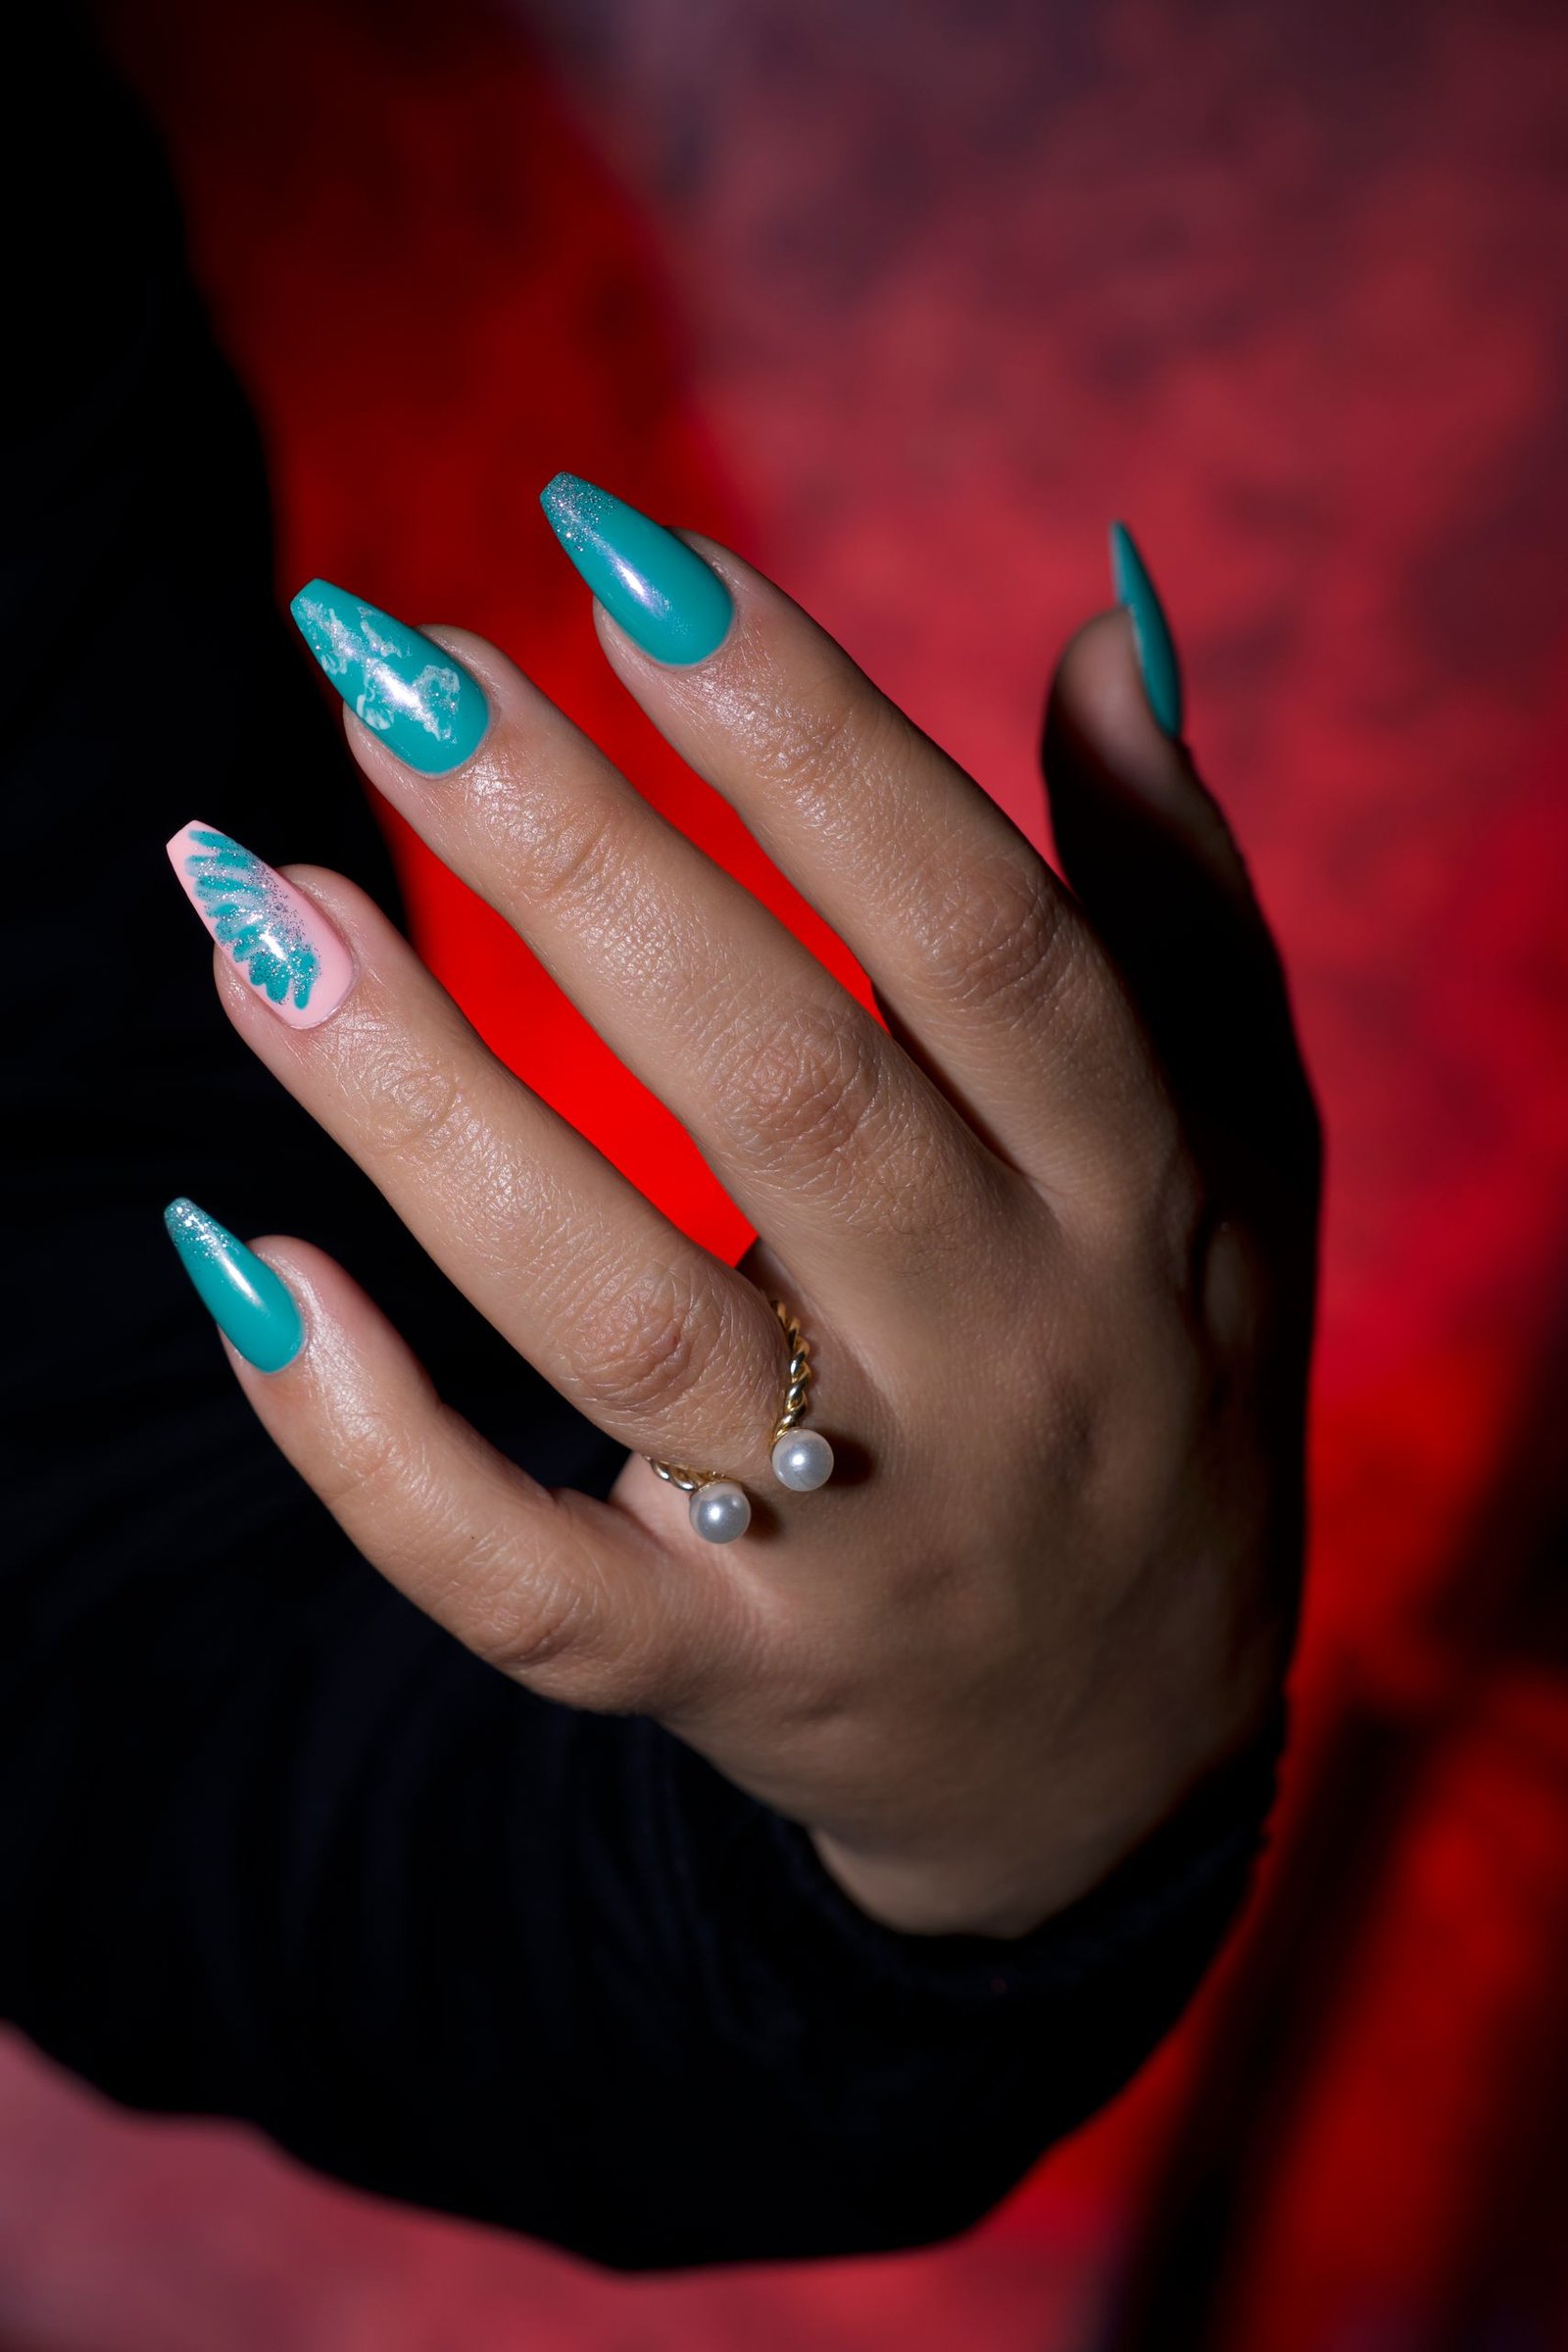
Mermaid Nails: 20 Iridescent Designs From Soft Pearl to Deep Sea
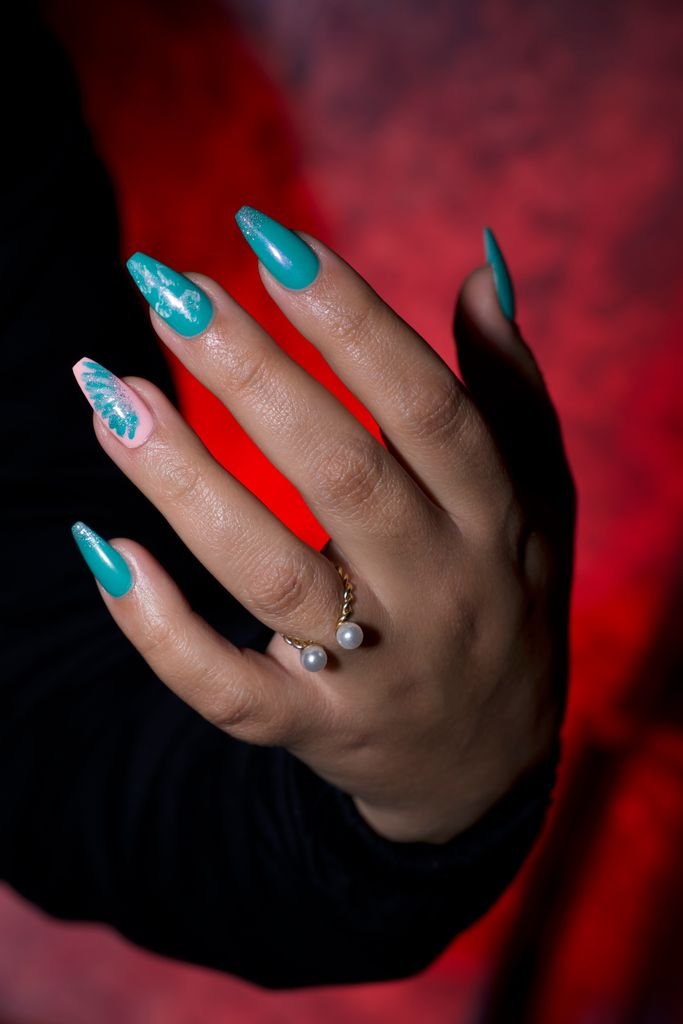
Some manicures get a polite “oh, nice.” Mermaid nails get questions. Someone will catch your hand in the light, watch the colour slide from pink to blue to green, and ask what on earth you are wearing. That shifting, sea-glass shine is the whole point of the look — and the good news is that it is a finish, not a talent test. Once you understand which finishes create the effect, almost every design in this guide can be rebuilt at a salon or on your own kitchen table.
That is how this article is organised: finishes first, then the designs grouped by mood, from soft pearl you can wear to the office to deep-sea sets made for evenings. You will also find a step-by-step home method, the small kit that covers nearly everything here, and honest advice on length and skin tone. This is deliberately not a colour-palette story — if you want bold colour with no shine effects at all, try a bold colour palette manicure with no sea effects instead. Here, the shimmer is the star and the colour is just the water it swims in.
What Makes a Manicure “Mermaid”? The Five Finishes
Strip away the photos and every mermaid nail design is built from one or more of five finishes. Learn these, and you can read any picture online and know exactly what to ask for — or what to buy. Beauty editors group these effects the same way: Byrdie’s guides to chrome, aurora and cat eye nails are a good place to see how salons layer the finishes before you commit to one.
Chrome and pearl powders — the mirror-water sheen
A fine powder is rubbed over a cured gel top coat until the nail turns into coloured glass. Pearl powder over white or pink gives the famous soft glow; stronger chrome over a dark base gives a near-mirror. This is the finish behind most pearl chrome nails you have saved, and it is also the one that shows up as a trend finish in roundups like our october nail ideas where chrome appears as a fall trend — there it is a seasonal accent, here it is the foundation of a whole theme.
Aurora and holographic flakes — colour that shifts as hands move
Aurora nails use thin, transparent flakes that flash pink, green and gold depending on the angle. Sealed under a glossy top coat, they look like light inside a shell. Holographic glitter does a similar job in regular polish, scattering tiny rainbow sparks instead of smooth shifts.
Magnetic cat eye — a moving band of light, like sun through water
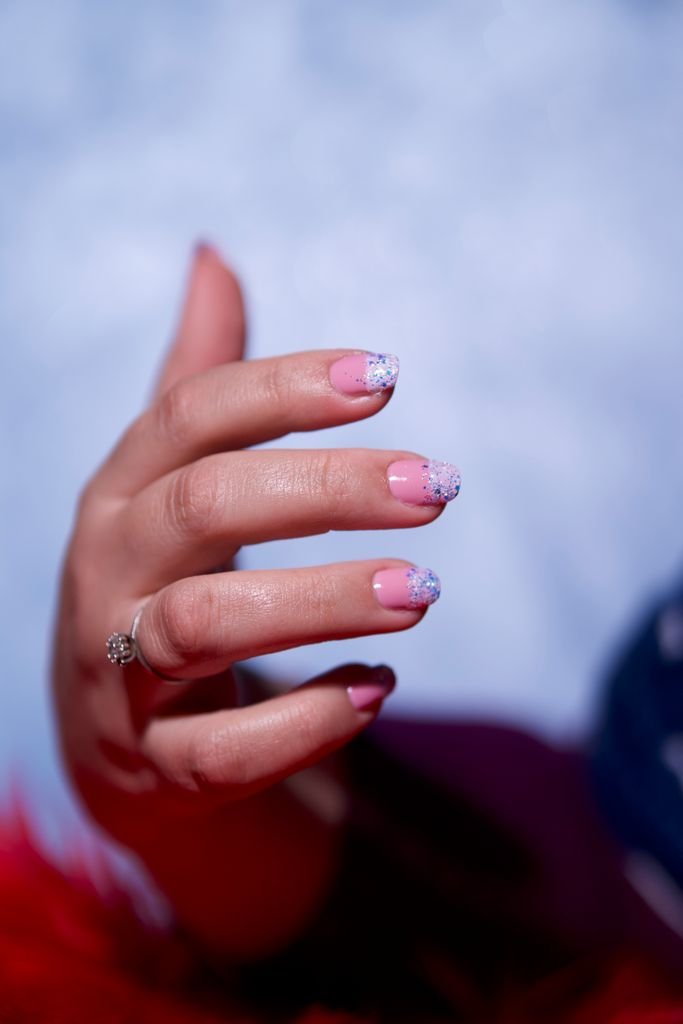
Cat eye gel contains tiny magnetic particles. Hold a small magnet over the wet coat and the particles line up into a glowing band that seems to swim when you tilt your hand. In teal, blue or violet, it is the closest a manicure gets to sunlight rippling under the sea surface.
Glitter and shimmer layers — sparkle suspended in the polish
Fine glitter in a sheer jelly base looks like bubbles and sand suspended in water. Layered thin, it stays elegant; packed at the tips, it makes an easy gradient. This is the friendliest finish for beginners because it works in ordinary polish with no lamp and no powder.
Painted and 3D details — scales, shells and pearls on top of the shine
The final finish is decoration: hand-painted scales, fine shell lines, tiny pearls and charms sitting on top of one of the shiny bases above. Details are the seasoning, not the meal — they work because the finish underneath already says “sea.”
Soft and Pearly: The Everyday Mermaid
If you love the idea but work somewhere conservative, start here. These iridescent nail designs keep the base pale and let a gentle finish do the talking, so they read as “pretty nails” in a meeting and “mermaid nails” the moment sunlight hits them.
1. Classic pearl chrome over a milky white base
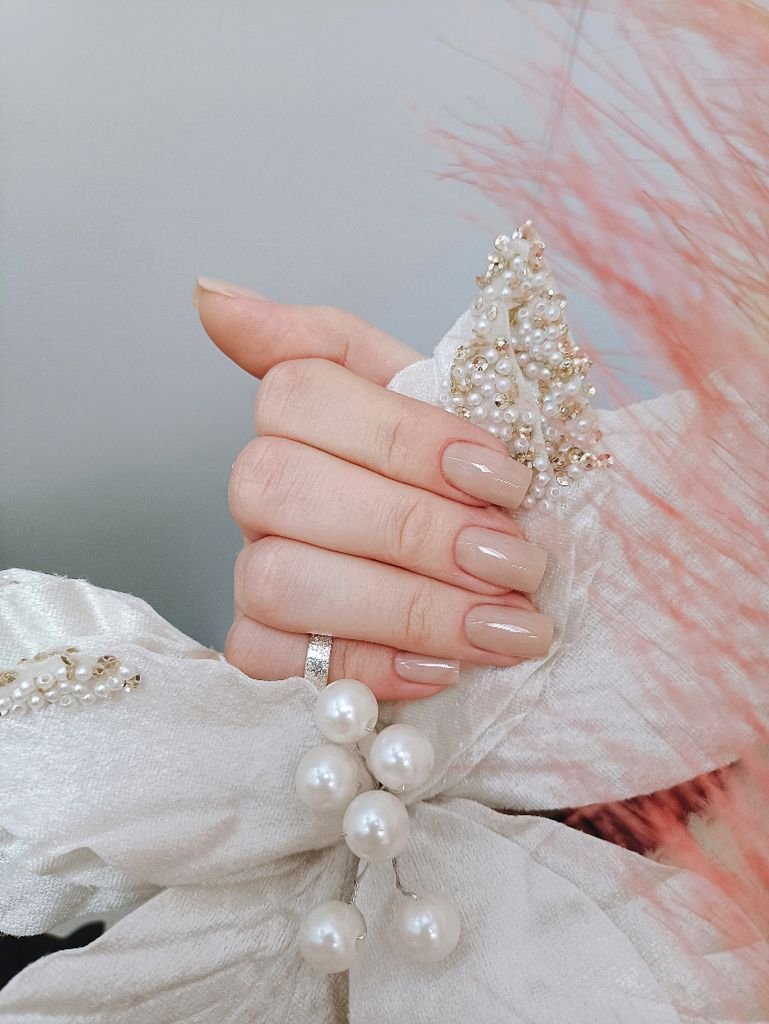
The design that launched the trend. Two coats of sheer milky white, cured, then pearl powder rubbed in until the nails glow like the inside of a shell. It suits every length, every skin tone and every outfit, and it grows out almost invisibly because the base is close to your natural nail colour.
2. Glazed seashell pink — the quiet, office-safe version
Swap the white base for a sheer seashell pink and keep the same pearl chrome on top. The result is your-nails-but-better with a seashell sheen — the one to choose if your workplace is formal or you simply live in neutral clothes. Ask for one thin powder pass; a second pass makes it frostier and less subtle.
3. Opal nails with a milky pink-blue glow
Opal is pearl’s dreamier sister: a milky base with aurora flakes sealed inside, so soft pink and blue patches drift across the nail. It needs no art at all and photographs beautifully, which is why it fills so many mermaid nail ideas boards. On short nails it looks like polished stones; on long nails it turns almost jewel-like.
4. Sea-glass green chrome over a sheer base
A whisper of mint or pale aqua under green-gold chrome gives the frosted-glass look of a bottle washed up on a beach. Keep the colour coat sheer — one coat, not two — so the finish stays translucent and glassy rather than solid and flat.
5. Short-nail shimmer: pale blue with a fine holographic top coat
This is the easiest design in the whole guide, and the proof that mermaid nails for short nails genuinely work. Paint a pale blue cream, add one coat of fine holographic top coat, and seal. The holo sparkle needs almost no length to catch light, the pale base hides chips well, and the whole thing takes fifteen minutes with regular polish.
6. Iridescent French tips instead of white
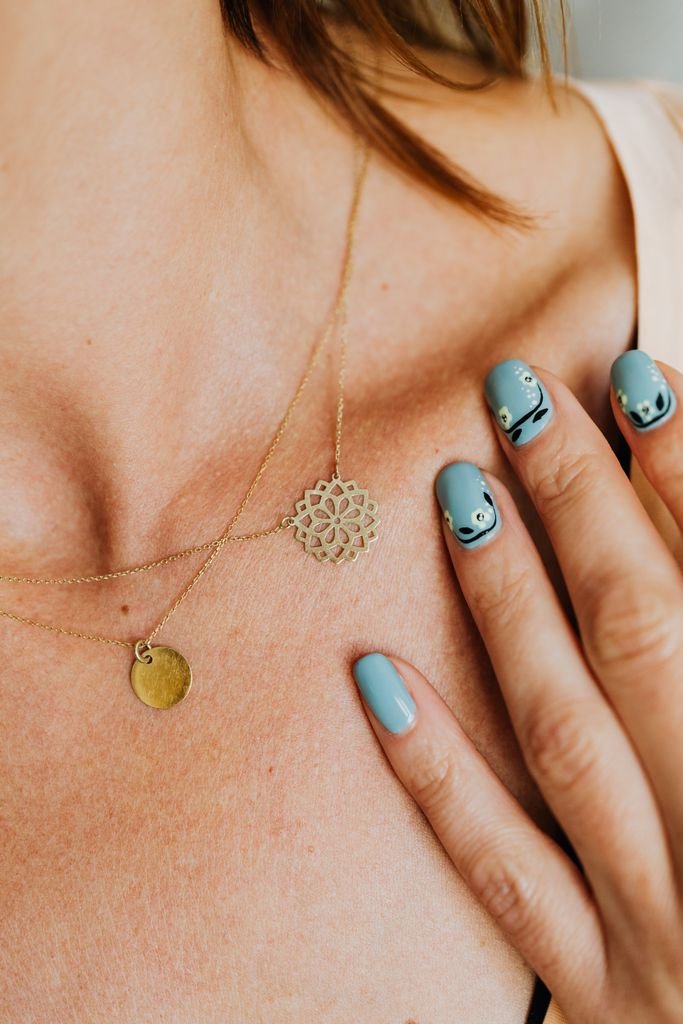
Keep your favourite sheer pink or nude base, then paint the tips with pearl chrome or a shimmering opal polish instead of the classic white. From a distance it is a French manicure; up close, the tips shift colour. It is the safest first step if you are not sure the full look is for you.
Colour-Shift Gradients: Shallow Water to Sunset
Gradients are where mermaid nails stop whispering. Blending two or three sea shades across the nail — and letting a shimmer finish melt them together — copies the way shallow water darkens as it deepens. A makeup sponge is the only special tool you need: paint stripes of each colour on the sponge, dab, repeat twice, clean the edges.
7. Seafoam fading into pale aqua
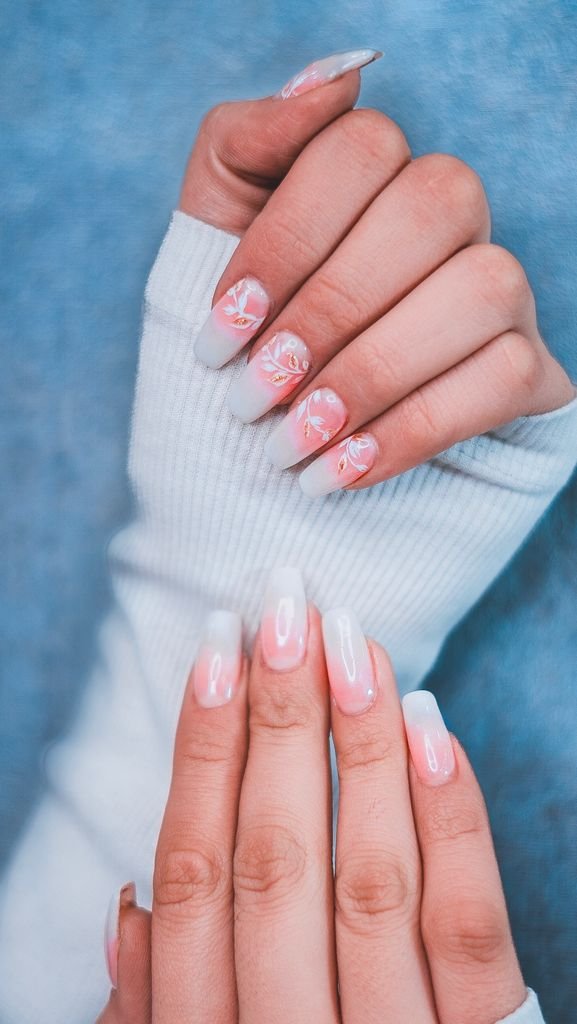
The classic shallow-water blend: pale seafoam at the cuticle deepening into clear aqua at the tip. A fine shimmer top coat blurs the join and adds the wet look. This pairing loves gold jewellery and white summer clothes, and it is the gradient to copy first because both shades sit close together, so small blending mistakes disappear.
8. Lilac melting into aqua with silver glitter at the tips
Lilac into aqua is the mermaid palette of every childhood drawing, made grown-up by a line of silver glitter pressed right at the tips, like light on a wave edge. Keep the glitter to the last two millimetres so the blend stays the hero.
9. Soft pink shimmer for anyone who does not wear blue
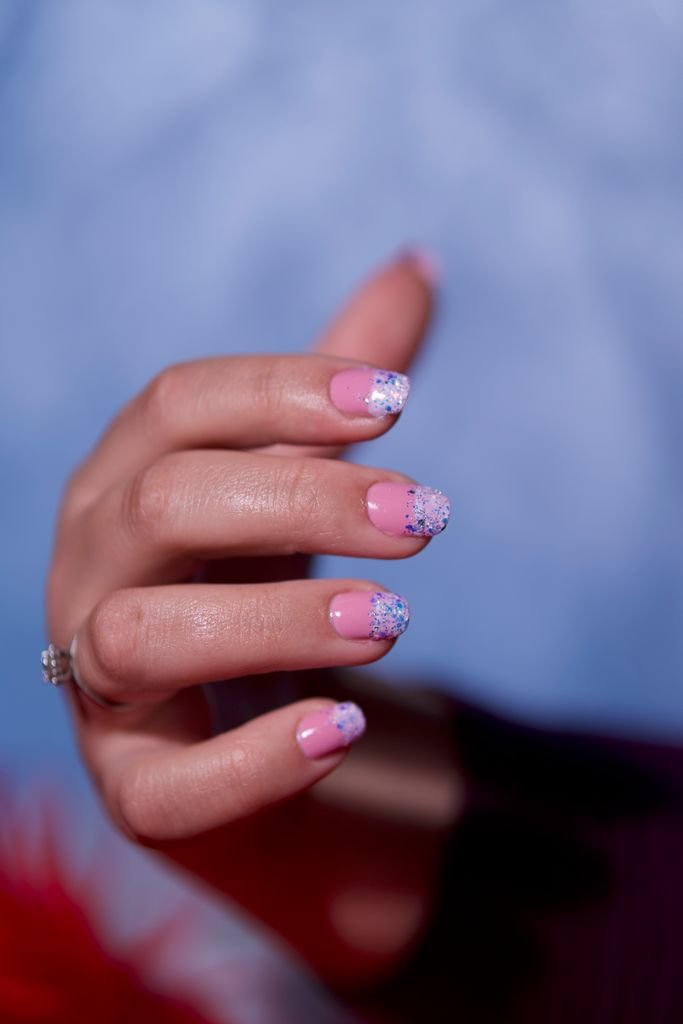
Not everyone wears blue, and mermaid nails do not require it. A rose-pink gradient — deeper at the cuticle, fading to a pearly blush tip, finished with aurora flakes — gives the same shifting underwater light in a warm, romantic key. It pairs especially well with gold rings and warm skin tones.
10. Peach-coral sunset ombré
For the other end of the day: peach melting into coral with a gold shimmer wash, like the sun dropping into the sea. Beach-holiday nails in one design — and if you are planning a full holiday set, our guide to caribbean nail art for a tropical beach palette takes this same sunshine direction into bright tropical art.
11. Full ombré with a glitter tip line
The boldest gradient here blends three shades — say lilac, aqua and deep blue — across every nail, then finishes each tip with a band of packed glitter. It takes the longest of the home designs, about forty minutes with drying time, but it is the one people photograph. Do it the day before an event, not the hour before.
Deep Sea: The Evening Version
Dark bases change everything. Chrome and cat eye over navy, teal or violet look richer and more mysterious than the pale versions — less beach day, more treasure chest. If your taste generally runs dark, this is your section.
12. Navy and deep green under a colour-shift chrome
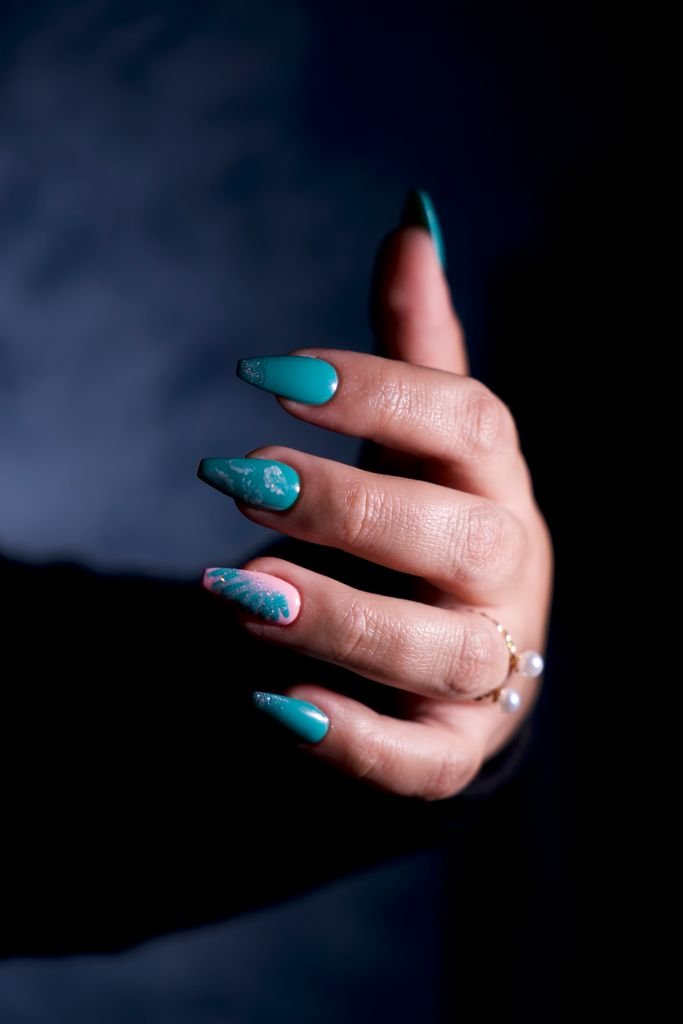
Alternate navy and deep emerald nails, or blend them, then rub a blue-green colour-shift chrome over the top. In low light the set looks almost black; in bright light it flashes peacock colours. It is dramatic without a single piece of nail art, and it sits happily next to the darker end of the spectrum — the same mood family as gothic coffin nails for the dark end of the spectrum, just with the sea’s shine instead of matte darkness.
13. Teal with fine gold foil — buried-treasure richness
Press tiny, irregular flakes of gold foil over a deep teal base and seal well. The gold should look found, not placed — scattered, denser near one edge, absent in patches. This is the richest-looking design in the guide relative to how simple it is, and it flatters warm and deep skin tones beautifully.
14. Magnetic cat eye in teal and violet
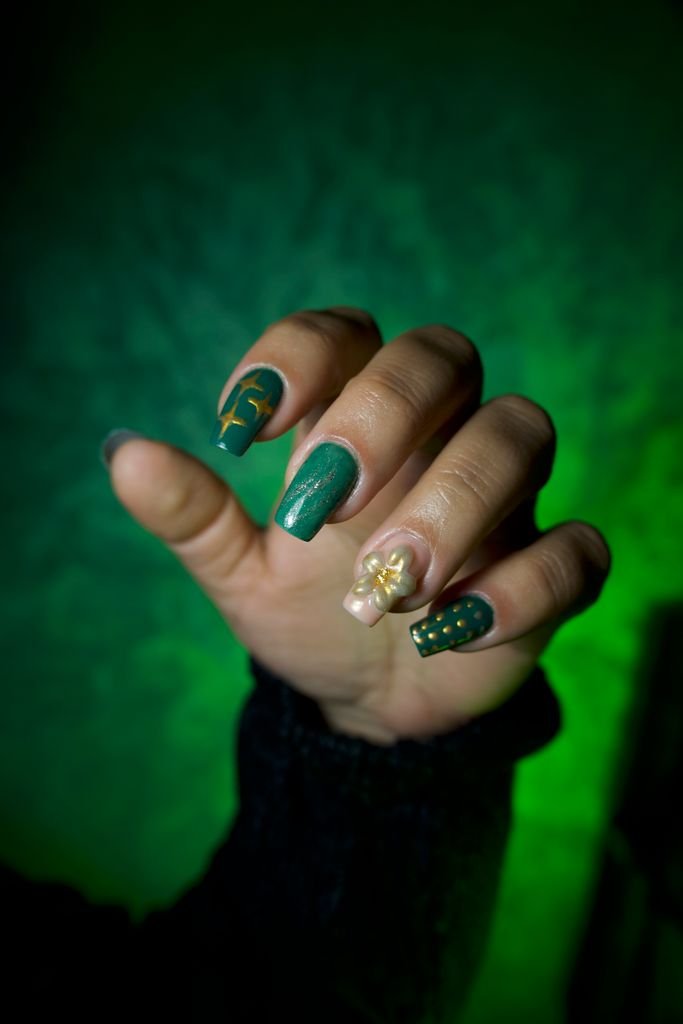
Use the magnet to pull the glowing band diagonally across each nail rather than straight down the middle — the slant makes the light look like it is moving through water. Teal on most nails and violet on the ring fingers keeps the set tied to one palette while giving the eye somewhere to land.
15. Black pearl chrome — the after-dark neutral
Pearl powder over a black or near-black base does not stay black; it turns into an oil-slick sheen of green, purple and grey. It is the evening design for people who find navy too blue and glitter too much, and it goes with literally everything in a winter wardrobe.
16. The full fantasy set: a different effect on every nail, one palette
Pearl chrome on the thumb, cat eye on the index, aurora flakes, a scale accent, plain deep chrome to rest the eye — all inside one colour family, usually blue-green-violet. The rule that keeps it elegant instead of messy is the shared palette: five finishes, one sea. Salons love doing these; at home, plan an evening and work one hand at a time.
Scales, Shells and Small 3D Details
Details sit on top of a finished base — usually chrome or a plain glossy colour — and a little goes a long way. One or two decorated nails per hand is the sweet spot; ten fully scaled nails can tip from mermaid into costume.
17. Painted scale accents on one or two nails
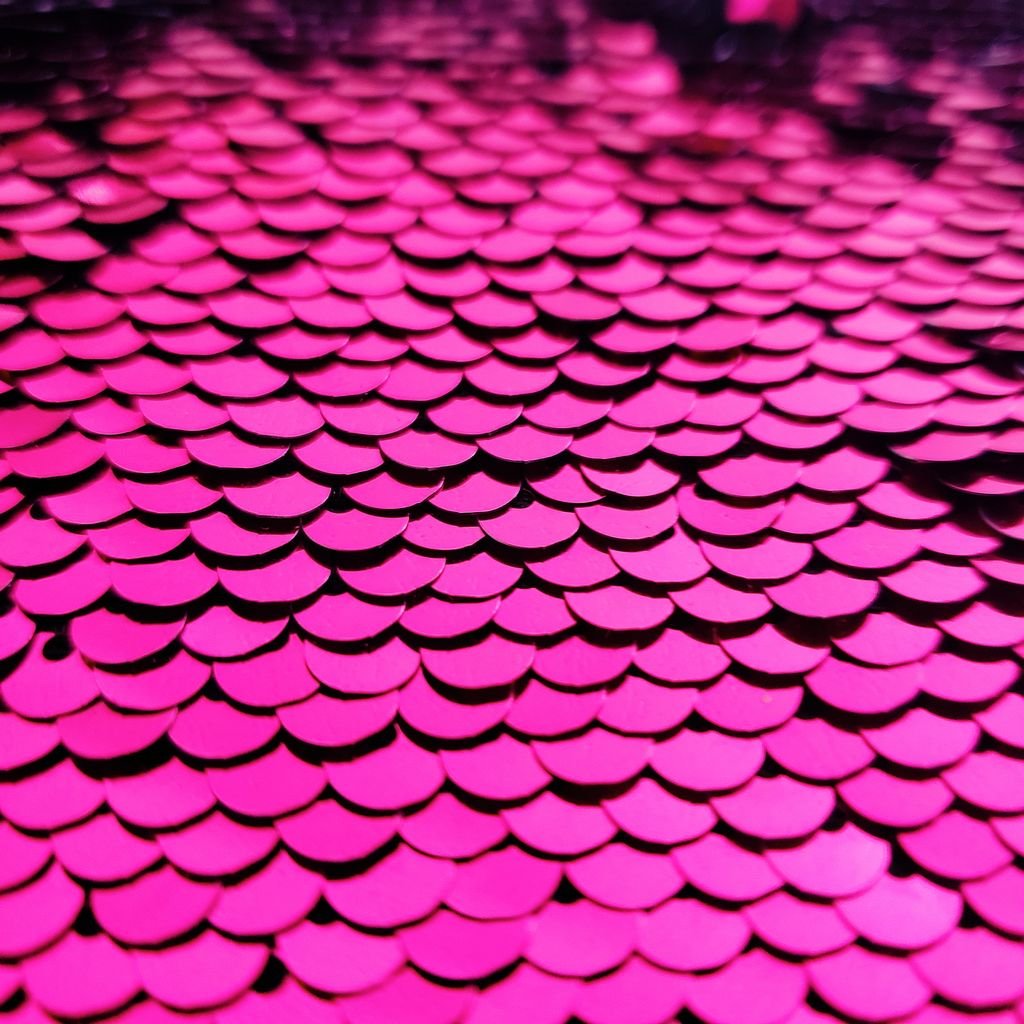
With a fine brush or the round end of a dotting tool, stamp overlapping half-circles in rows down the nail, like roof tiles. Silver over blue is the classic; tone-on-tone (a slightly deeper shade of your base) is the subtle version. Start at the tip and work toward the cuticle so the overlap looks right, and don’t worry about perfection — real scales are not identical either.
18. Metallic-outlined scales for a bolder hand
Paint the scale pattern in a flat colour first, let it dry fully, then trace each arc with a thin line of metallic gold or silver. The outline is what makes this version read from across a room. It suits medium and long nails best, because each scale needs a little room to hold its border.
19. Fine shell lines in white or gold on a nude base
The quietest detail in this guide: thin, curved lines fanning from one corner of the nail, like the ridges of a shell, drawn in white or gold over a nude or sheer pink base. It is bridal-friendly, office-friendly and lovely on short nails, where bigger patterns would crowd.
20. Tiny pearl and starfish charms — one or two per hand, secured properly
Half-pearls, tiny shells and starfish studs turn a plain chrome set into occasion nails. Place them near the cuticle of the ring finger, set them into a bead of gel or nail glue — never balanced on wet polish — and cap the edges with top coat so they don’t catch on hair and clothes. Expect charms to be the first thing to go after about a week of real life; carry that expectation and you won’t be disappointed.
How to Do Mermaid Nails at Home, Step by Step
Here is the full gel route for the signature look — pearl or chrome mermaid nails — written so a first-timer can follow it. Work in this order, and keep every coat thin; thin coats are the difference between glassy and gloopy.
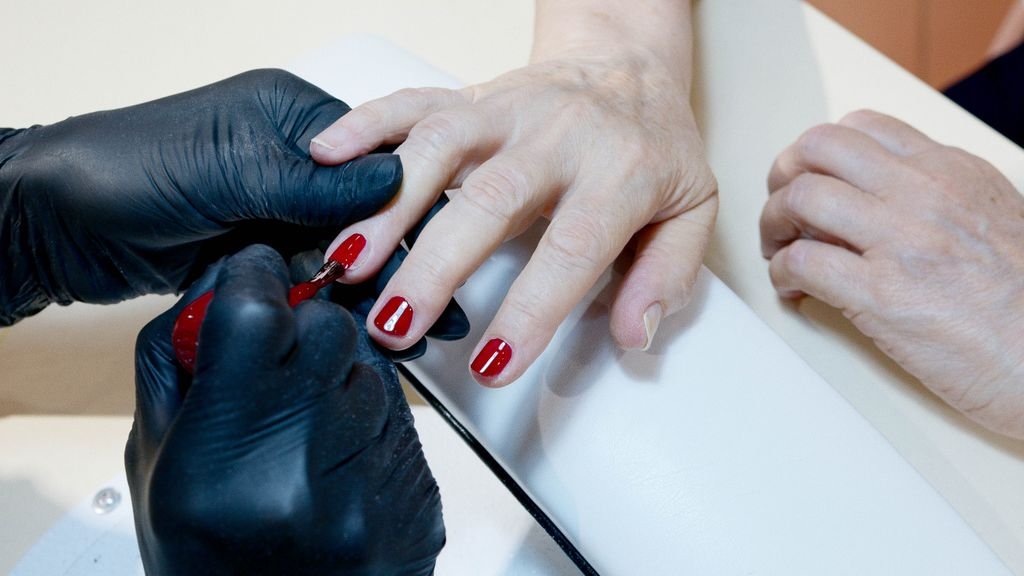
- Shape and prep your nails. File to your shape, push cuticles back gently, buff the surface lightly and wipe each nail with cleanser or rubbing alcohol. Chrome shows every ridge and speck of dust, so this quiet step decides how expensive the result looks.
- Apply a thin base coat. One thin layer, capped at the free edge, cured if it is gel. Base coat protects your natural nail from staining — important with the teal and navy shades in this guide.
- Paint two thin coats of colour. Your base shade (milky white for pearl, pale blue for sea-glass, black for the deepest shine), two thin coats rather than one thick one, curing between coats on the gel route.
- Add a no-wipe top coat and cure it. This smooth, slightly grippy layer is what the powder holds on to. It must be a no-wipe formula; a normal sticky top coat will make chrome look cloudy and patchy.
- Rub in chrome or pearl powder, or press on aurora flakes. While the cured top coat is fresh, rub powder in firm circles with a sponge applicator or a gloved fingertip until the nail turns to glass, then dust off the excess with a soft brush. For aurora nails, press flakes onto this layer instead, scattered like light patches, before sealing.
- Seal everything with a final top coat. Float it over the chrome rather than scrubbing with the brush, and cap the free edge well — unsealed tips are where chrome wears away first, usually within days.
- Finish with cuticle oil. Once the top coat is cured or fully dry, oil the skin around each nail and massage in. It makes the whole set look salon-fresh in photos and keeps the skin from drying out after all the cleanser and filing.
Shape and prep your nails.
File to your shape, push cuticles back gently, buff the surface lightly and wipe each nail with cleanser or rubbing alcohol. Chrome shows every ridge and speck of dust, so this quiet step decides how expensive the result looks.
Apply a thin base coat.
One thin layer, capped at the free edge, cured if it is gel. Base coat protects your natural nail from staining — important with the teal and navy shades in this guide.
Paint two thin coats of colour.
Your base shade (milky white for pearl, pale blue for sea-glass, black for the deepest shine), two thin coats rather than one thick one, curing between coats on the gel route.
Add a no-wipe top coat and cure it.
This smooth, slightly grippy layer is what the powder holds on to. It must be a no-wipe formula; a normal sticky top coat will make chrome look cloudy and patchy.
Rub in chrome or pearl powder, or press on aurora flakes.
While the cured top coat is fresh, rub powder in firm circles with a sponge applicator or a gloved fingertip until the nail turns to glass, then dust off the excess with a soft brush. For aurora nails, press flakes onto this layer instead, scattered like light patches, before sealing.
Seal everything with a final top coat.
Float it over the chrome rather than scrubbing with the brush, and cap the free edge well — unsealed tips are where chrome wears away first, usually within days.
Finish with cuticle oil.
Once the top coat is cured or fully dry, oil the skin around each nail and massage in. It makes the whole set look salon-fresh in photos and keeps the skin from drying out after all the cleanser and filing.
The regular-polish route. No lamp? You can still learn how to do mermaid nails at home with bottles alone: holographic polish gives the aurora sparkle, jelly shades layered over fine glitter give the suspended-sparkle look, and magnetic cat eye polish gives the moving band of light. Loose chrome powder is the only finish that truly needs gel, so home manicurists simply swap it for a pearl-effect polish — slightly softer shine, far less equipment.
The Small Kit That Covers Almost Every Design
You do not need a drawer of products. Seven things cover nearly all twenty designs above: a sheer milky base polish, one chrome or pearl powder, a no-wipe gel top coat (plus any standard top coat), a fine art brush, a dotting tool, a mini cat eye magnet, and an ombré sponge. Buy few and good rather than many and cheap — one smooth pearl powder outperforms a box of gritty ones, and a decent top coat is what makes every finish in this guide last. Add aurora flakes and one holographic polish later if the soft looks become your habit.
Choose Your Version by Nail Length and Skin Tone
The same finish reads differently on different hands. A few honest guidelines save a lot of disappointment.
Short nails: chrome, pearl and soft shimmer read best
On short nails, light needs a smooth surface more than it needs space. Pearl chrome, opal, sea-glass chrome and the fine holographic top coat all shine beautifully at short lengths, and they grow out softly because the colours are pale. Choose the shell-line detail if you want art; save full scales and charms for length.
Long nails: scales, charms and fantasy sets get their space
Length is canvas. Gradients can stretch through three shades, scales can run in full rows, the fantasy set can give every finish its own nail, and charms sit without crowding the cuticle. Just keep one palette across the set so the length looks designed, not decorated at random.
Skin tone: warm, cool and deep
Warm skin glows in teal, gold-foil finishes and coral-pink shimmer, because the warmth in the polish matches the warmth in the skin. Cool skin loves lilac, icy blue and silver-heavy aurora, which echo its pink and blue undertones. Deep skin is where the richest versions live: emerald, deep teal and violet chrome have the contrast to look jewel-like, and gold foil on deep skin is possibly the most striking pairing in this whole guide. If you want the deeper science of shade matching — undertones, opacity and contrast for plain colour manicures — see our guide to nail colours matched to deep skin tones.
Keep the Shine Alive
Chrome and glitter finishes are sealed colour, not armour, so treat them kindly. Wear gloves for washing up and cleaning, because hot water and detergents dull chrome faster than anything else. Refresh your top coat every three or four days, painting right over the existing shine. Use cuticle oil daily, seal the free edge whenever you re-coat, and never use your nails as tools — opening cans with a chrome tip is how the mirror ends. Follow that, and a gel set should hold its glow for two to three weeks.
FAQs About Mermaid Nails
How long do mermaid nails last?
A gel mermaid set usually lasts two to three weeks before the growth gap shows, and the chrome or pearl finish stays bright for most of that time if you refresh the top coat every few days. With regular polish, expect five to seven good days, because shimmer and chrome-effect layers are thinner and chip sooner at the tips.
Can I do mermaid nails with regular polish?
Yes. Holographic polish, jelly shades layered over glitter, and magnetic cat eye bottles all create the mermaid effect without a lamp. Only loose chrome and pearl powders truly need gel, because they are rubbed into a cured no-wipe top coat — with regular polish, choose the bottled versions of the same finishes instead.
Do mermaid nails have to be blue or green?
No. Blue and green are the classic sea colours, but the mermaid effect is the shimmer, not the shade. Pearl pink, lilac, opal white and even soft coral all read as mermaid nails the moment a chrome, aurora or glitter finish starts shifting the colour as your hands move.
Do mermaid nails work on short nails?
Yes, and some versions look better short. Pearl chrome, opal and fine holographic shimmer need very little nail length to catch the light, and they grow out softly. Save painted scales, big gradients and 3D charms for longer nails, where there is room for the detail to breathe.
How are mermaid nails different from plain chrome nails?
Plain chrome is one finish: a smooth mirror powder over a single colour. Mermaid nails are a theme built from several finishes — chrome plus aurora flakes, glitter gradients, cat eye light, scales or shell details — layered to copy how light moves on water and inside a shell.
Conclusion
The secret of mermaid nails is that the shimmer is the point, not the colour and not the artwork. Pick one finish — pearl chrome is the kindest place to start — wear it pale for everyday or deep for evening, and add scales, flakes or a charm only when you want more. Twenty mermaid nail designs later, every road in this guide leads back to the same simple pleasure: tilting your hand in the light and watching the sea move.