25 Yellow and White Nail Ideas That Feel Fresh and Sunny
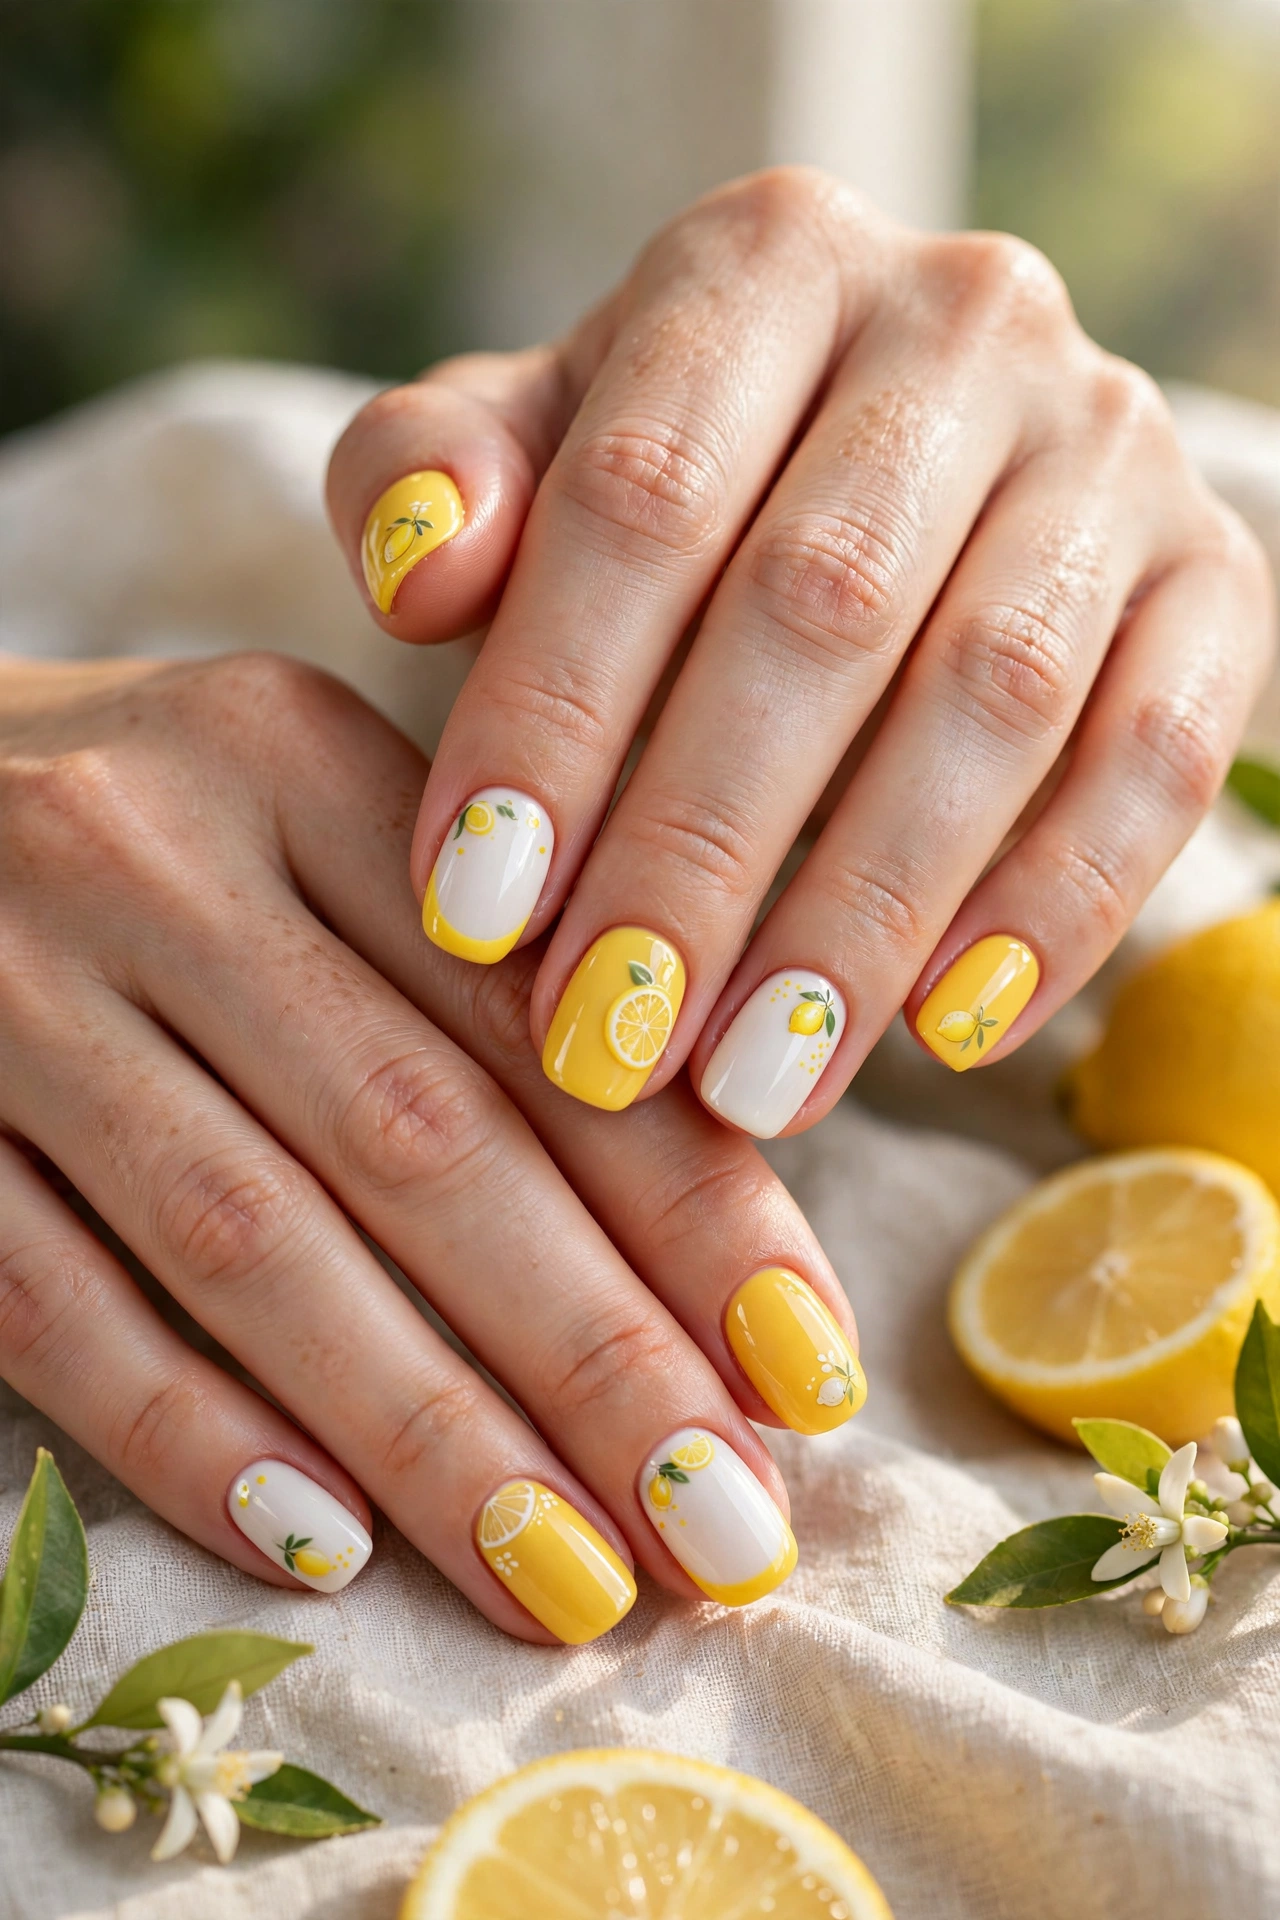
If you want yellow and white nail ideas that look fresh, happy, and clean at the same time, you have found the right list. These yellow and white nail ideas mix soft white bases, buttery yellow tips, tiny flowers, lemons, and gentle patterns that work for spring, summer, and any week that needs a little sunshine. They are pretty without being loud, and most of them are easy to ask for at a salon or copy at home.
Yellow can be tricky on its own. Too bright and it can feel harsh, too pale and it can wash out. White fixes all of that. White softens yellow, makes it look cleaner, and gives your nail artist, or you at home, a calm base for art. Together they suit short nails, long almond nails, and everything in between. Below you will find simple designs for beginners, dressier ideas for events, and practical tips so the manicure lasts and the yellow does not stain your natural nails.
Before you pick, think about your week. If you type a lot, handle paper, or care for little ones, shorter and simpler designs will serve you better. If you have a vacation, a birthday, or photos coming up, you can go bolder with lemons, checks, or layered flowers. Either way, save two or three favorites to show your nail tech, because a photo always explains a design faster than words do.
How to Pick the Best Yellow and White Nail Ideas for You
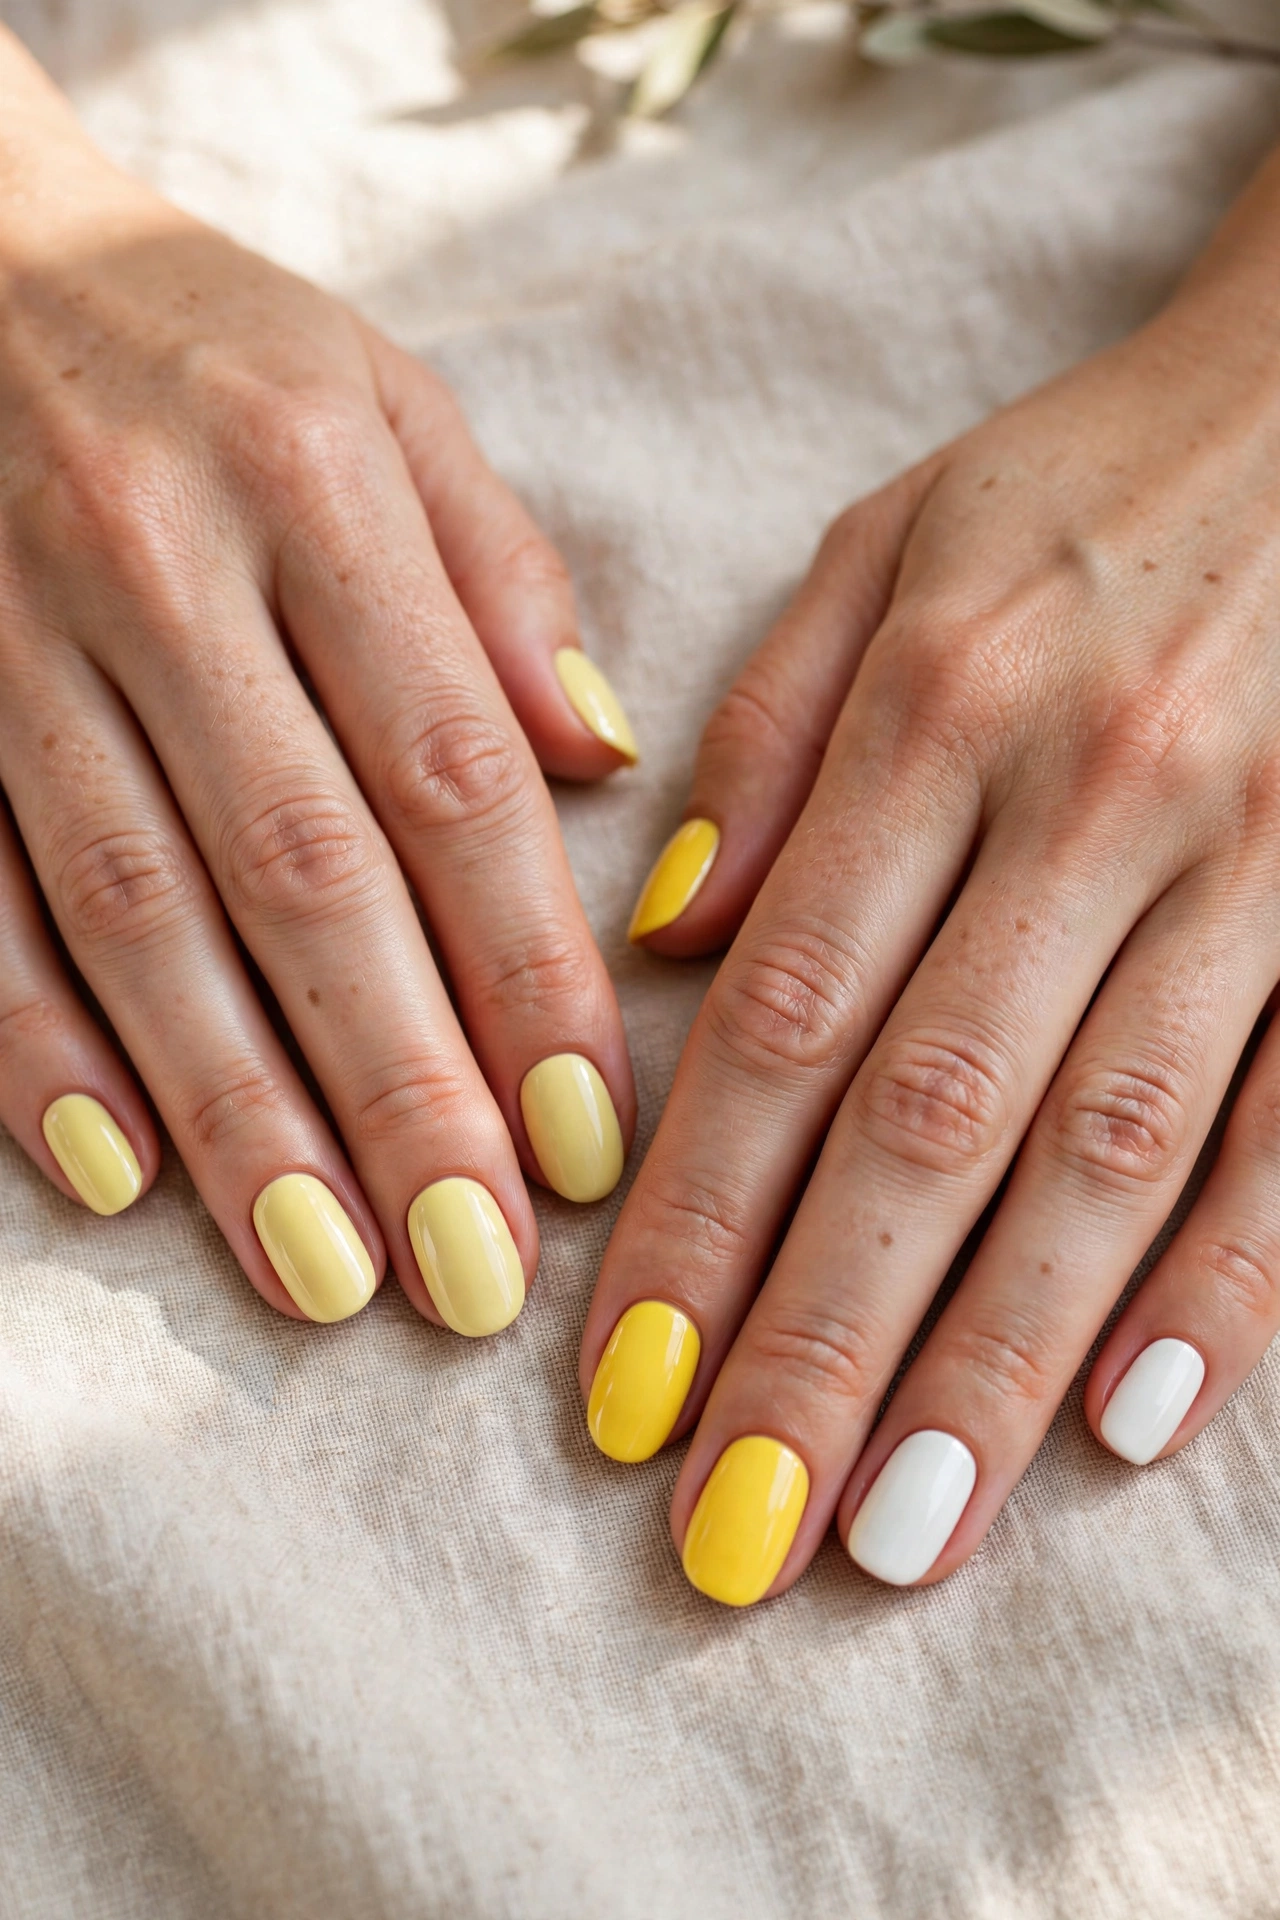
Start with shade, shape, and how much art you really want to live with for two weeks. A manicure is not just for the first day photo. It has to go with your clothes, your work, and your mood on day ten as well. This section helps you choose a version you will still love after the first weekend.
Look at your skin tone in daylight if you can. Warm and deeper skin tones often glow with golden, mustard, and warm lemon yellows. Fair and cool tones often suit pastel, creamy, and soft butter yellows best. White helps here too: a crisp white can brighten a yellow that feels too warm, and a milky white can soften a yellow that feels too sharp.
Choose Your Yellow: Pastel, Lemon, or Mustard
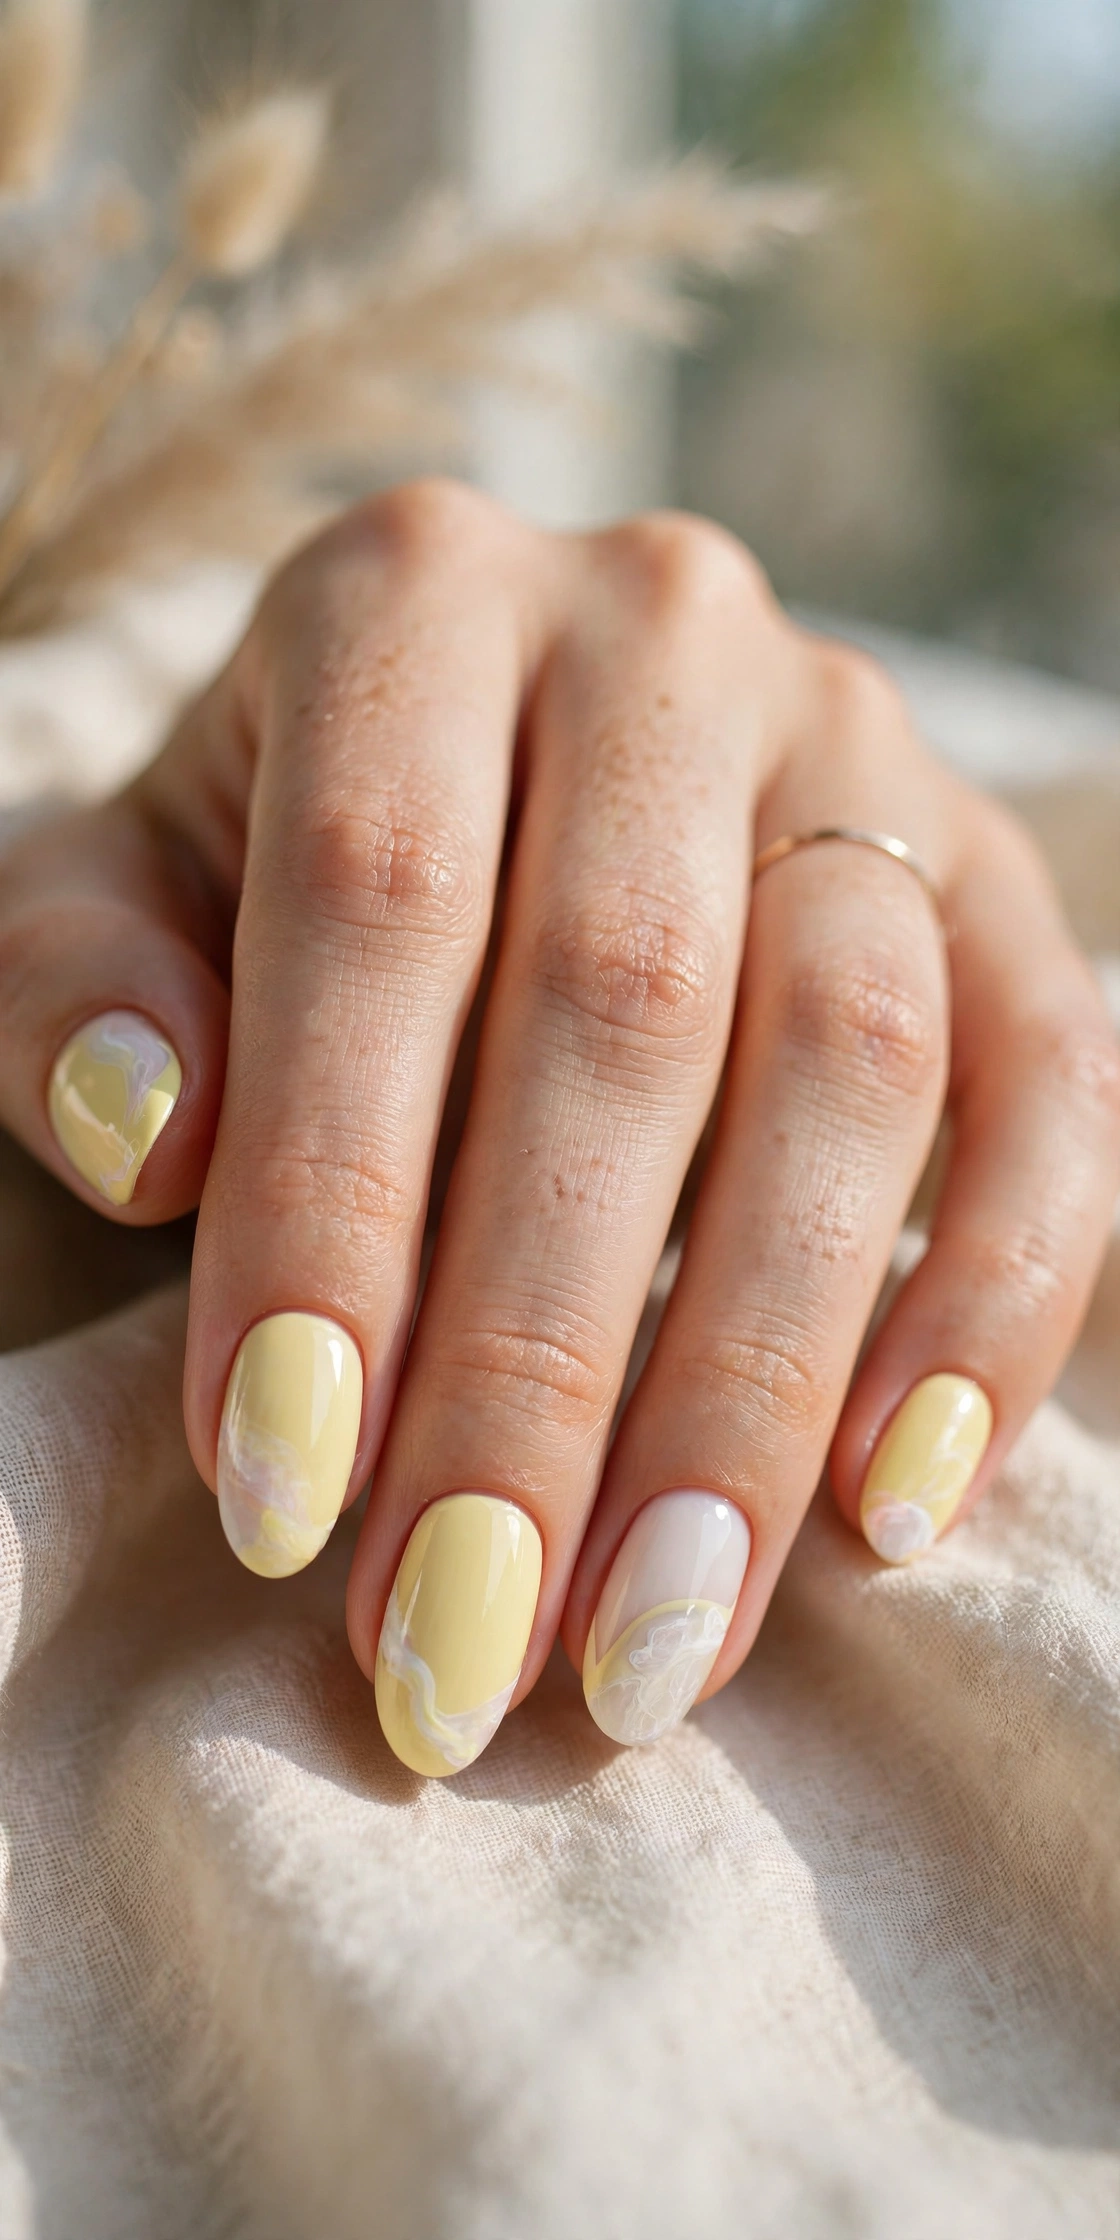
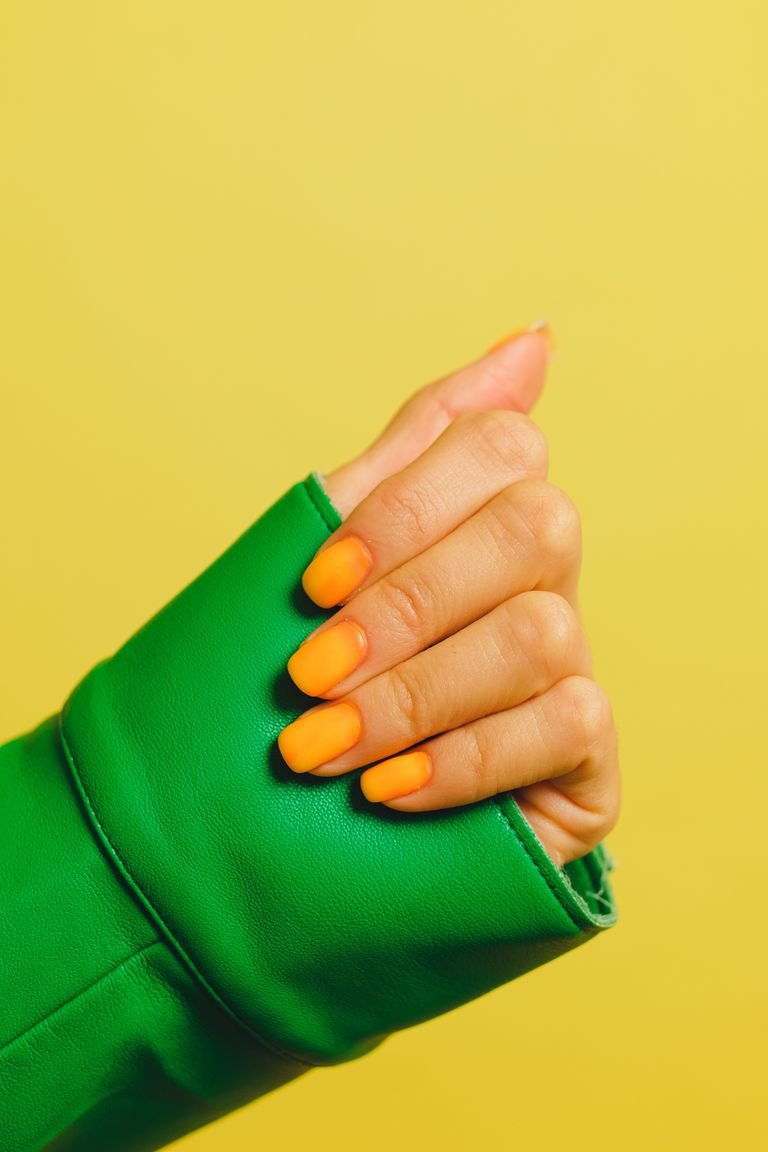
Pastel yellow nails are the softest and easiest to wear. Think buttercream, pale banana, and creamy lemon sorbet. They pair beautifully with milky white bases, tiny white flowers, and fine gold details if you want a touch of shine. Pastel is the safest pick for work, weddings, and anyone trying yellow for the first time.
Lemon yellow is brighter, fresher, and more playful. It loves crisp white tips, white polka dots, and lemon slice art. It is perfect for summer holidays, picnics, and beach trips. If you love color contrast in other shades too, browse our blue nail ideas for the same kind of clean, bright pairing in a cooler tone.
Mustard and deeper golden yellows feel warmer and a little more grown up. They work well in fall as well as late summer, especially with creamy off-white instead of stark white. Keep the art simple with mustard, such as a single white line, a small daisy, or a matte finish, so the rich color stays the star.
Pick a Shape and Length You Can Live With
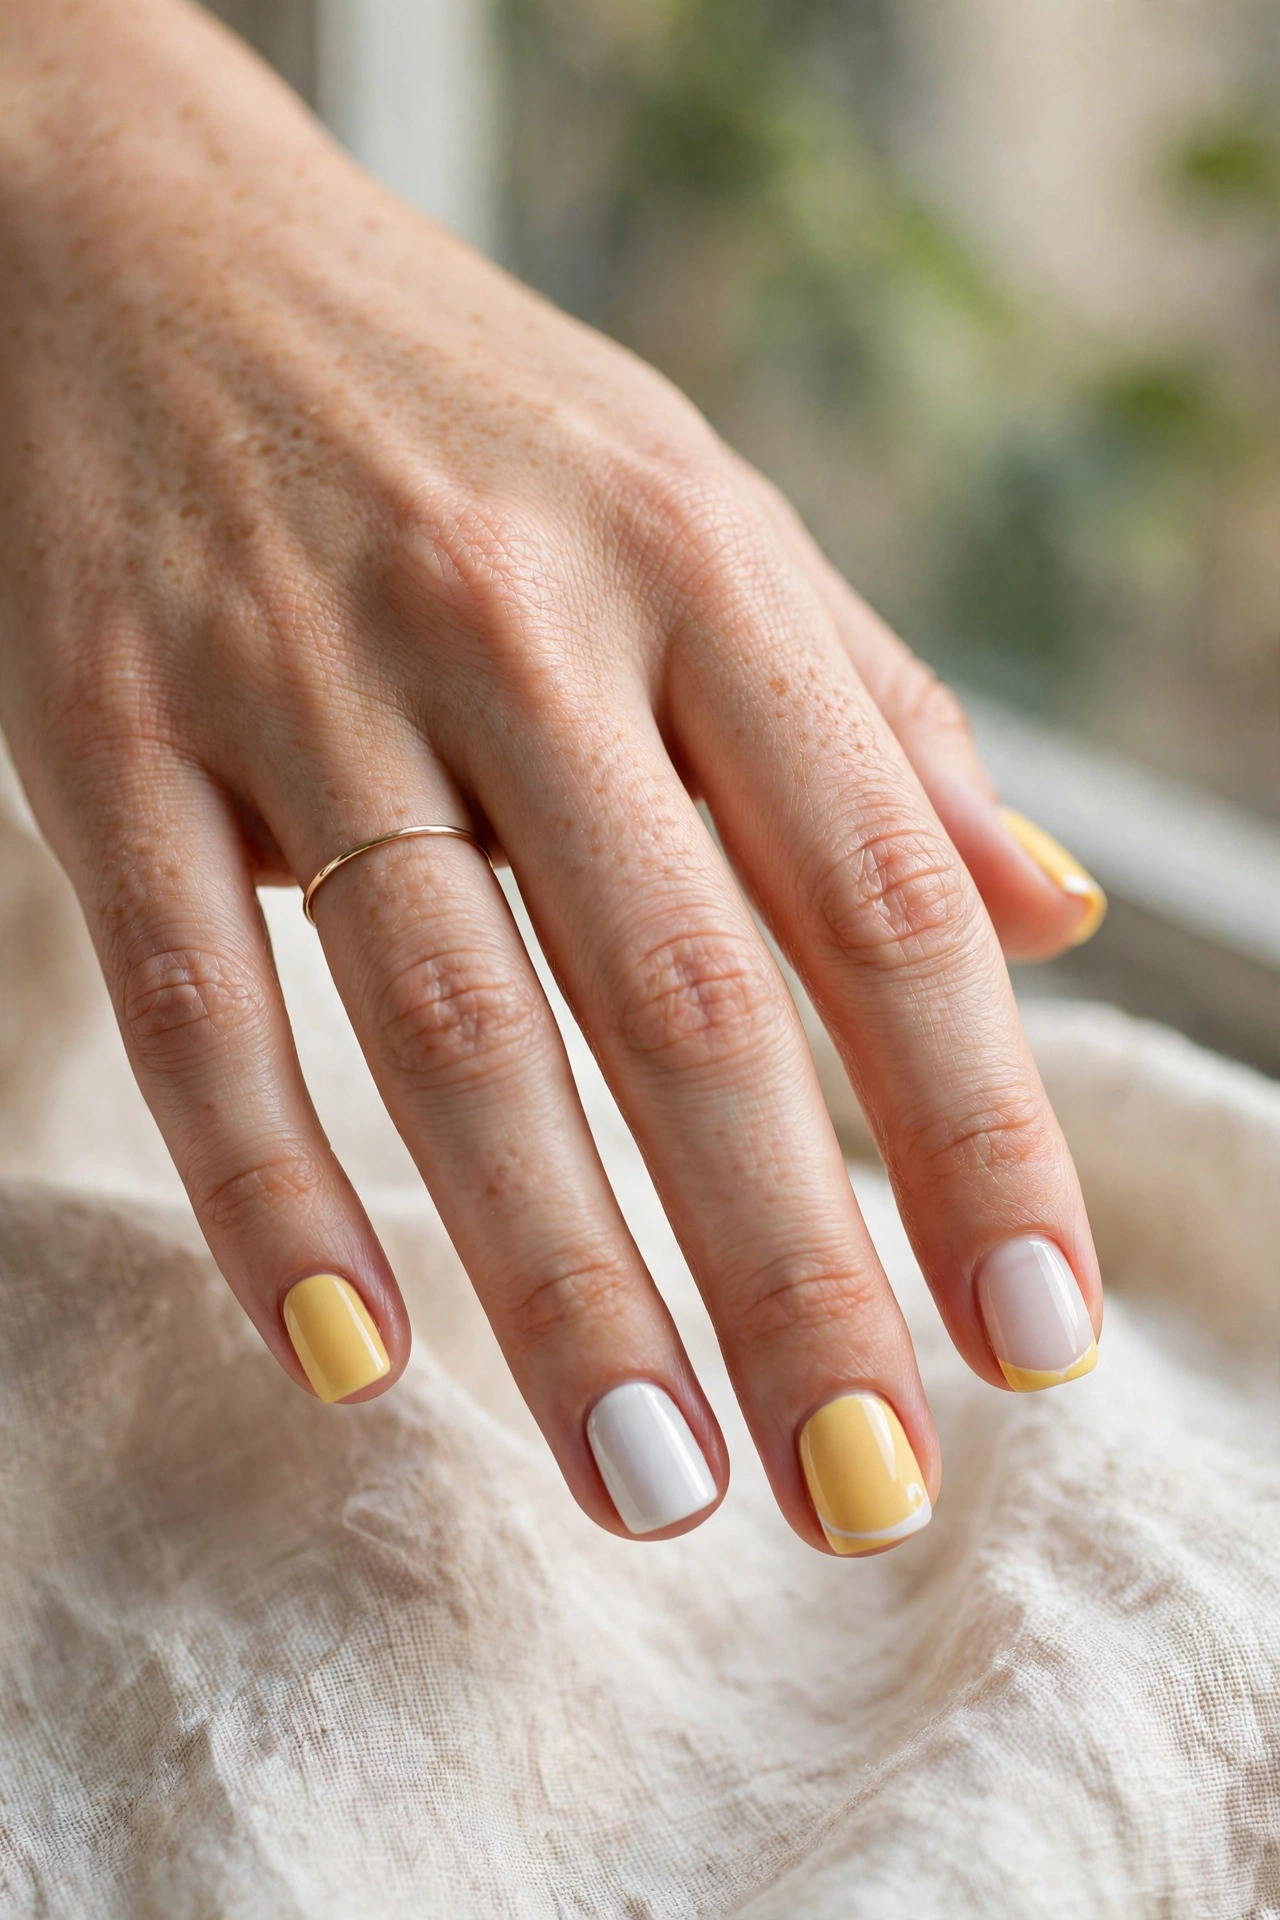
Short yellow and white nails are practical, cute, and very much on trend. A short square or squoval shape, where the corners are slightly softened, shows off French tips and simple art without catching on everything. If your nails are short right now, do not wait for them to grow. Many designs below were chosen with short nails in mind, and our guide to classy short nail designs proves short can look just as polished as long.
Almond and oval shapes make fingers look longer and suit softer art like ombre, swirls, and flowers. They need a little more care at the tips, so they suit gel or builder finishes if your natural nails are thin. Coffin and long square shapes give the most space for lemons, checks, and layered art, but be honest about your daily tasks before choosing them.
Whatever shape you choose, keep all ten nails close to the same length and shape. That one detail makes even a very simple yellow and white manicure look neat and intentional.
Simple Yellow and White Nail Ideas Anyone Can Wear
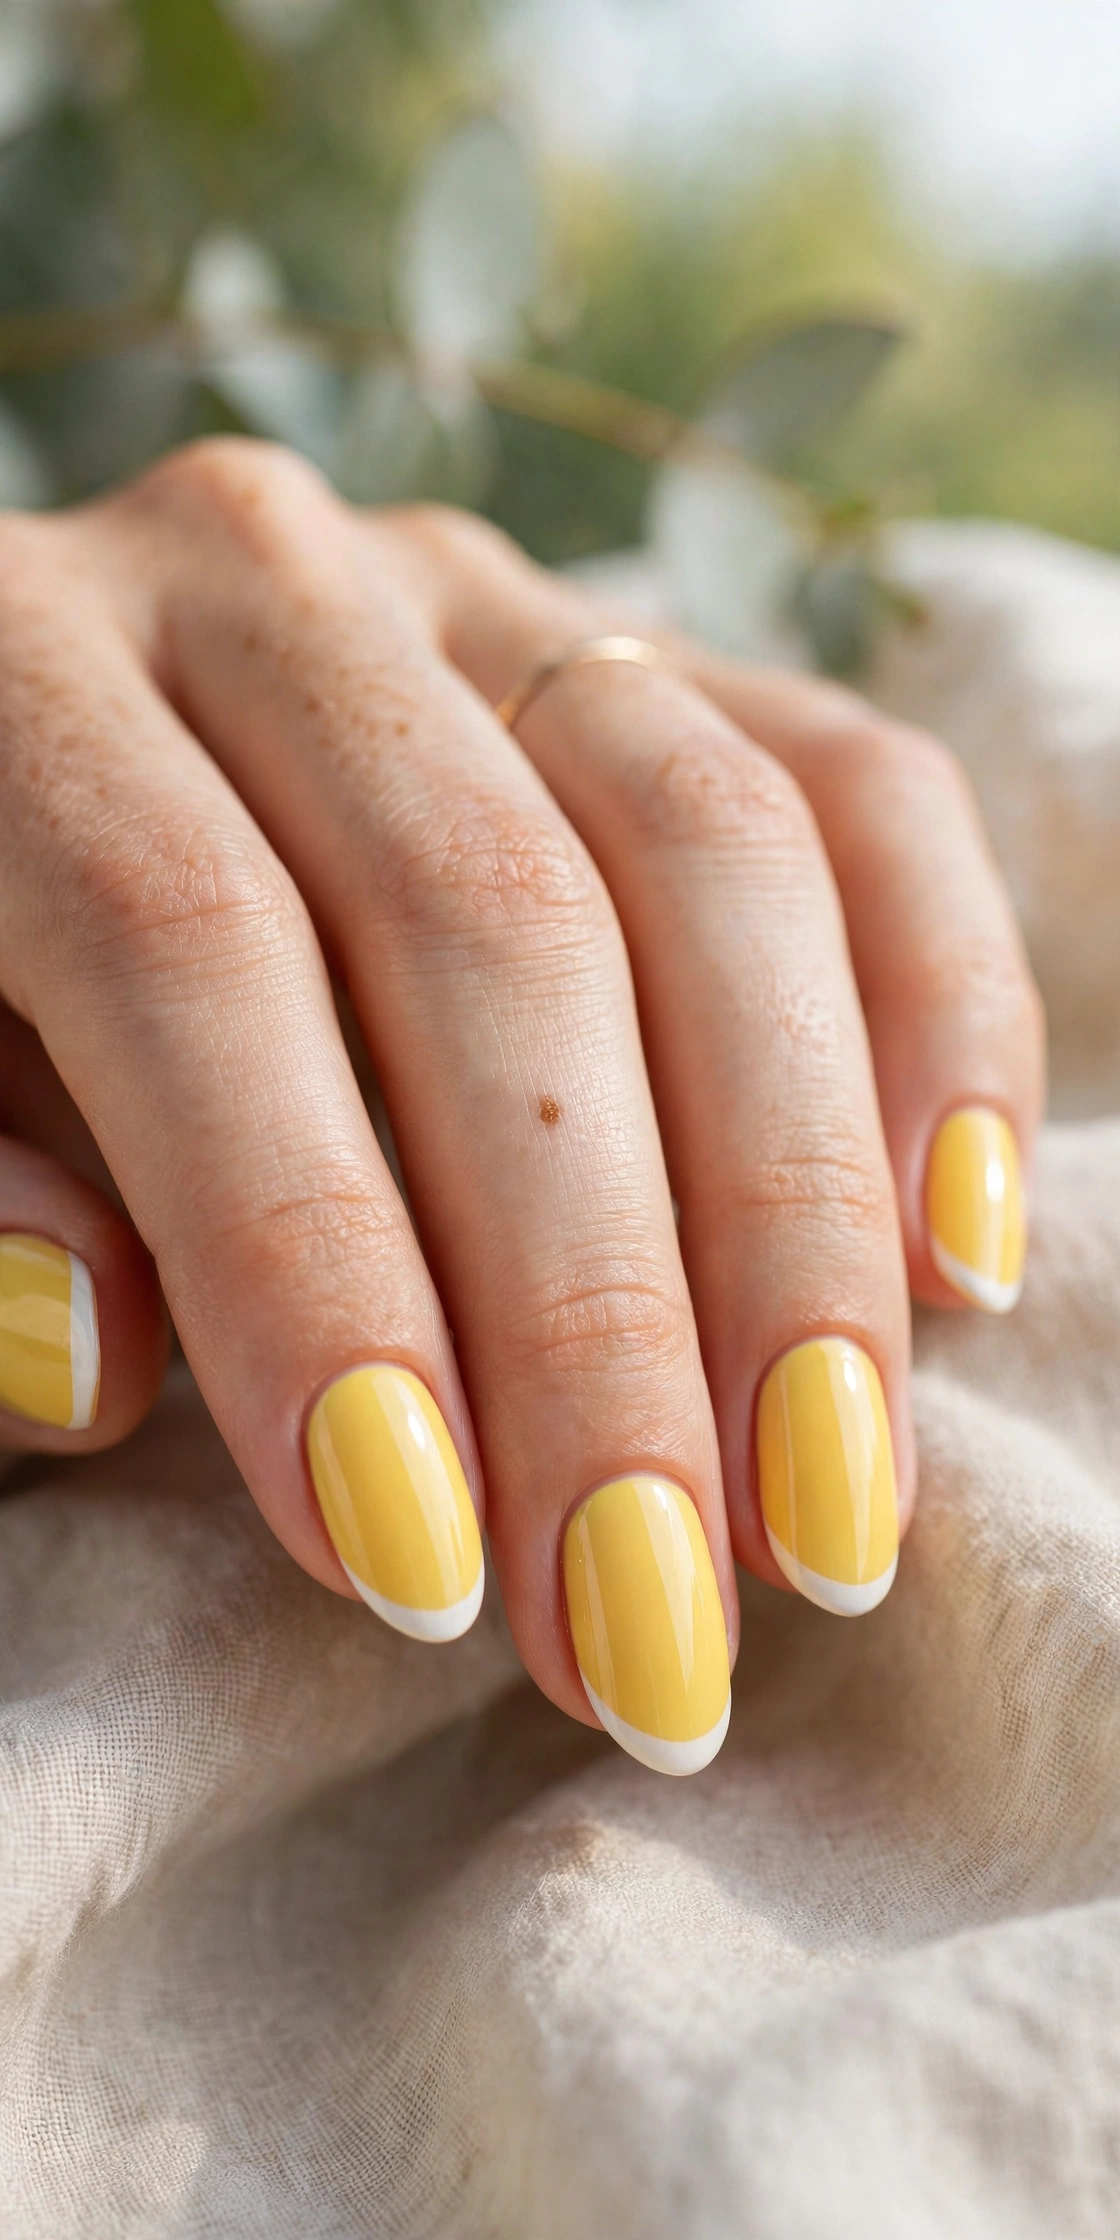
Simple does not mean boring. The most wearable designs use just two colors, clean lines, and one small detail that catches the eye. These are the manicures that get compliments at the grocery store and still look right in a work meeting.
They are also the best choices if you do your nails at home. You do not need ten brushes and a steady artist hand. A good base coat, two polishes, a toothpick or dotting tool, and a little patience will get you most of these looks.
Yellow French Tips, White Bases, and Reverse French
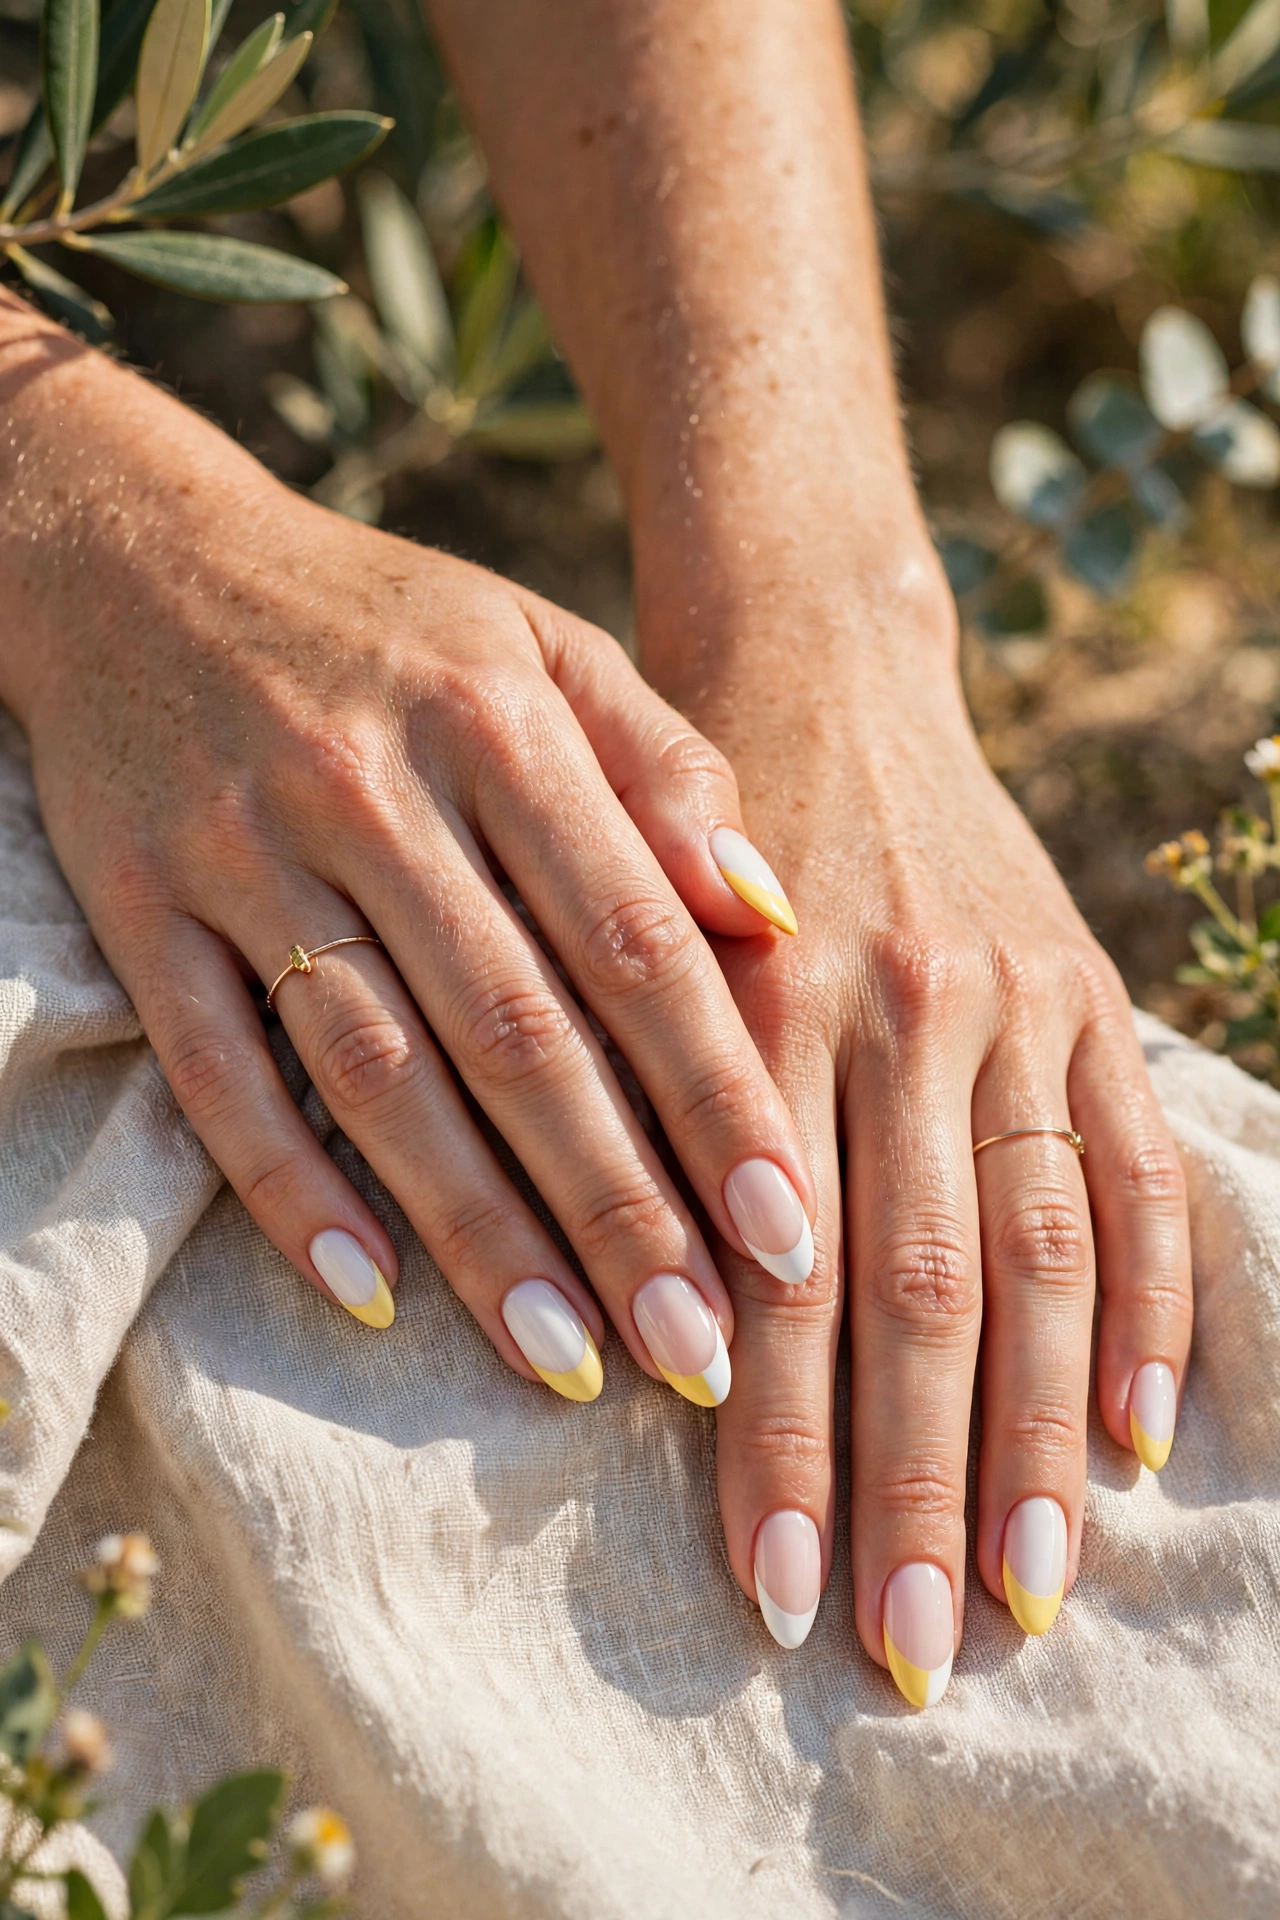
A yellow French tip on a milky white or soft nude-white base is the easiest place to start. Paint the base, let it dry well, then use a thin brush or tip guides for the yellow edge. Keep the tip thin on short nails and a little deeper on almond nails. It reads fresh and sunny from a distance, and up close it still looks clean.
Flip it for a reverse French: a yellow base with a white half-moon or white tip. This version shows more color, so pick a yellow you truly love. It looks especially pretty in pastel for spring and lemon for summer. Add one accent nail with the opposite pattern so the set feels designed, not mismatched.
For a tiny upgrade, try a double line: a white tip with a thin yellow line just under it, or yellow tips with a fine white dot on each nail. Small touches like these take two extra minutes and make a home manicure look salon-made. If seasonal sets are your thing, you can plan ahead with our festive Christmas nail ideas later in the year, using the same accent-nail trick in red and white.
Dots, Stripes, and Tiny Hearts
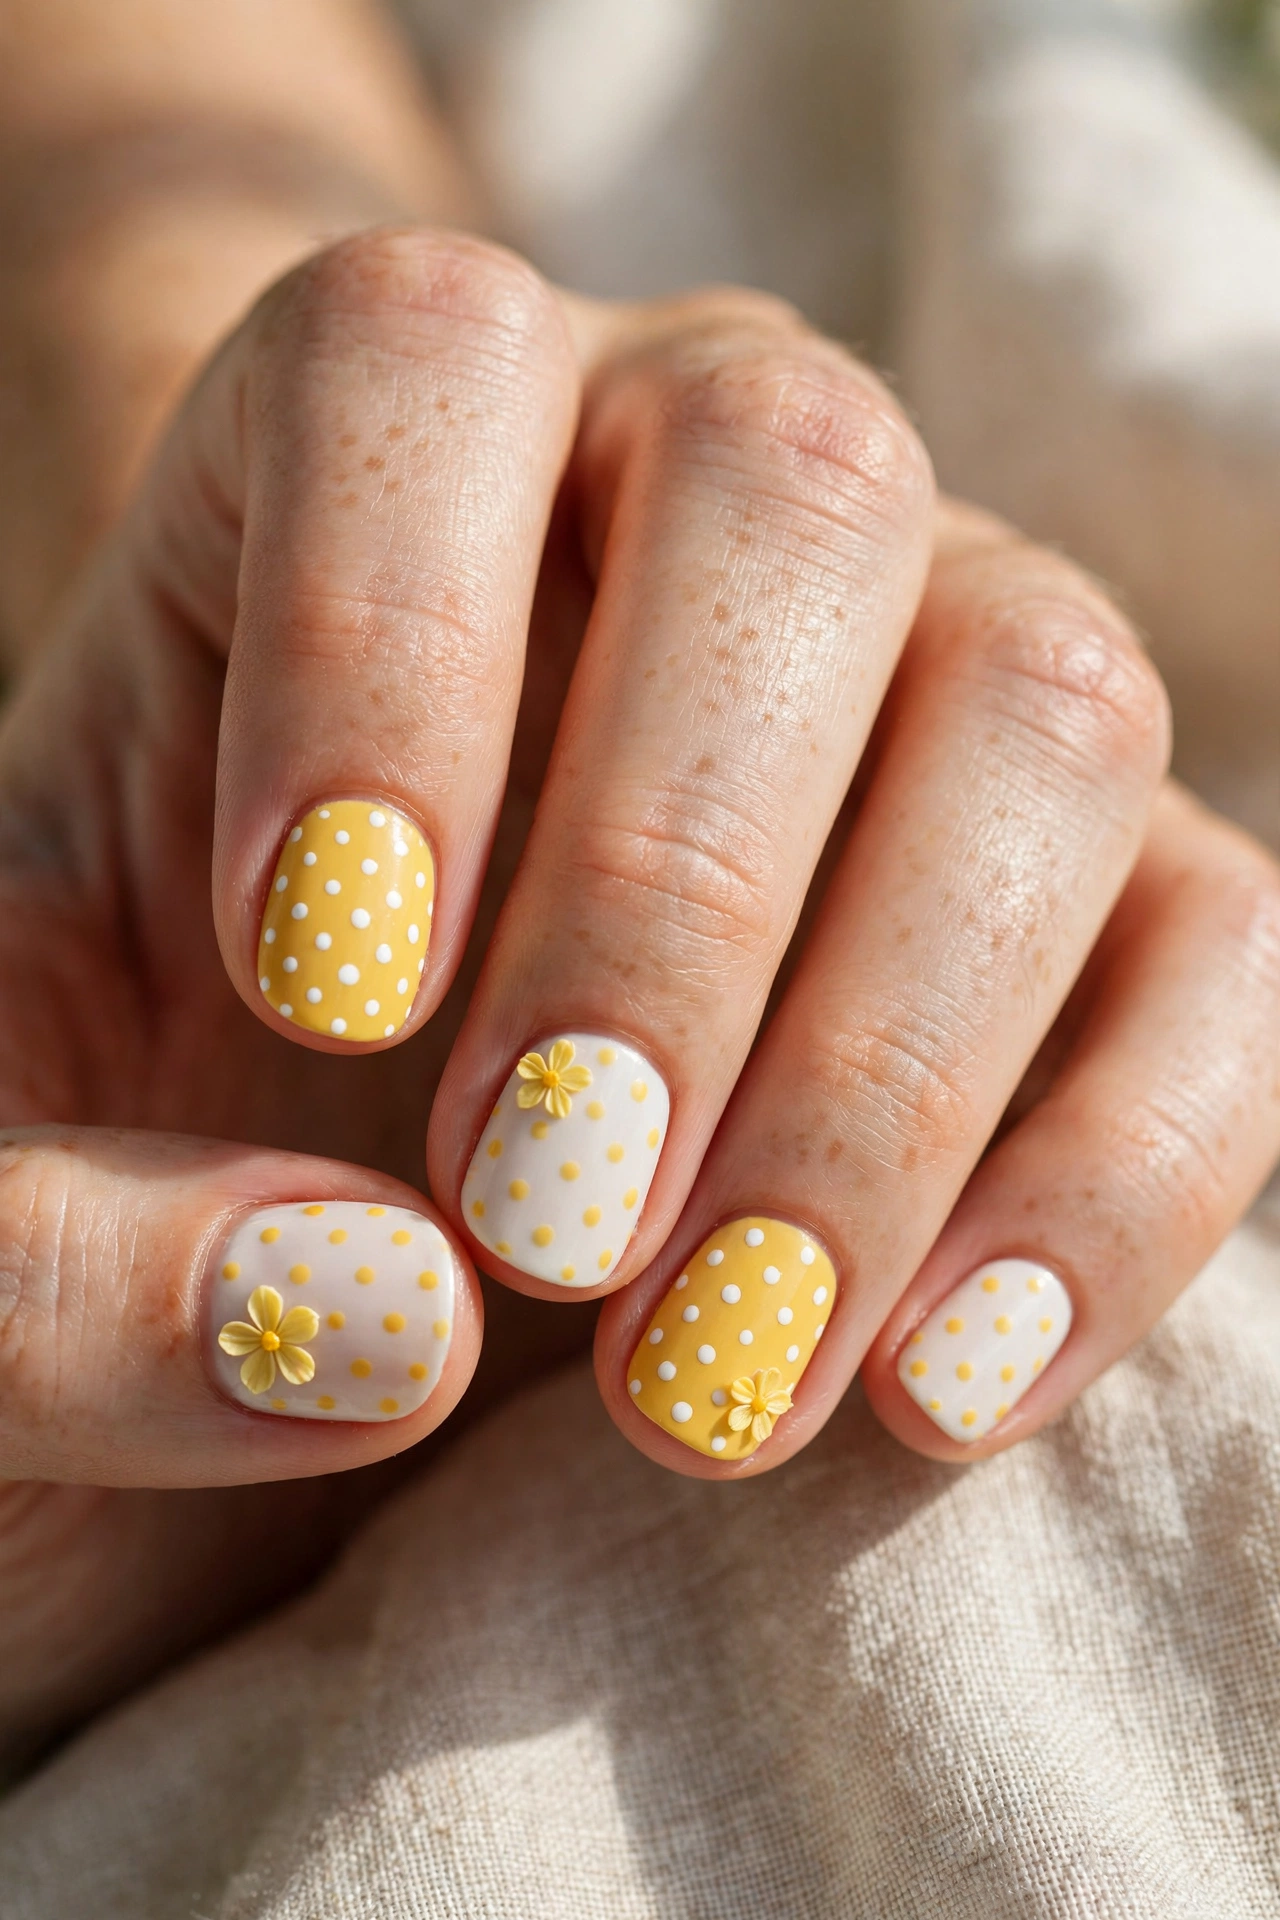
Polka dots are forgiving and fast. Do a white base, dip a dotting tool or the end of a bobby pin in yellow polish, and place dots evenly, or scatter them for a playful feel. Seal with top coat once the dots are fully dry, or they may drag and streak. Work one hand at a time and rest your painting hand on the table for control.
Stripes need a steadier hand, but tape helps. Lay thin nail tape or cut tiny strips of regular tape over a fully dry base, paint the second color, and peel the tape off while the top layer is still slightly wet for a cleaner line. Vertical stripes make short nails look longer. Diagonal stripes feel more fun and hide small wobbles better than straight ones.
Tiny white hearts on a yellow base, or yellow hearts on white, are sweet for birthdays, baby showers, and spring dates. Keep the heart small, place it near one corner of the nail, and do it on just a few nails. Cute art stays cute when it has room to breathe. For more playful, character-style inspiration, peek at our bunny nails designs and borrow the same one-accent-nail idea.
Pretty Floral, Lemon, and Ombre Designs
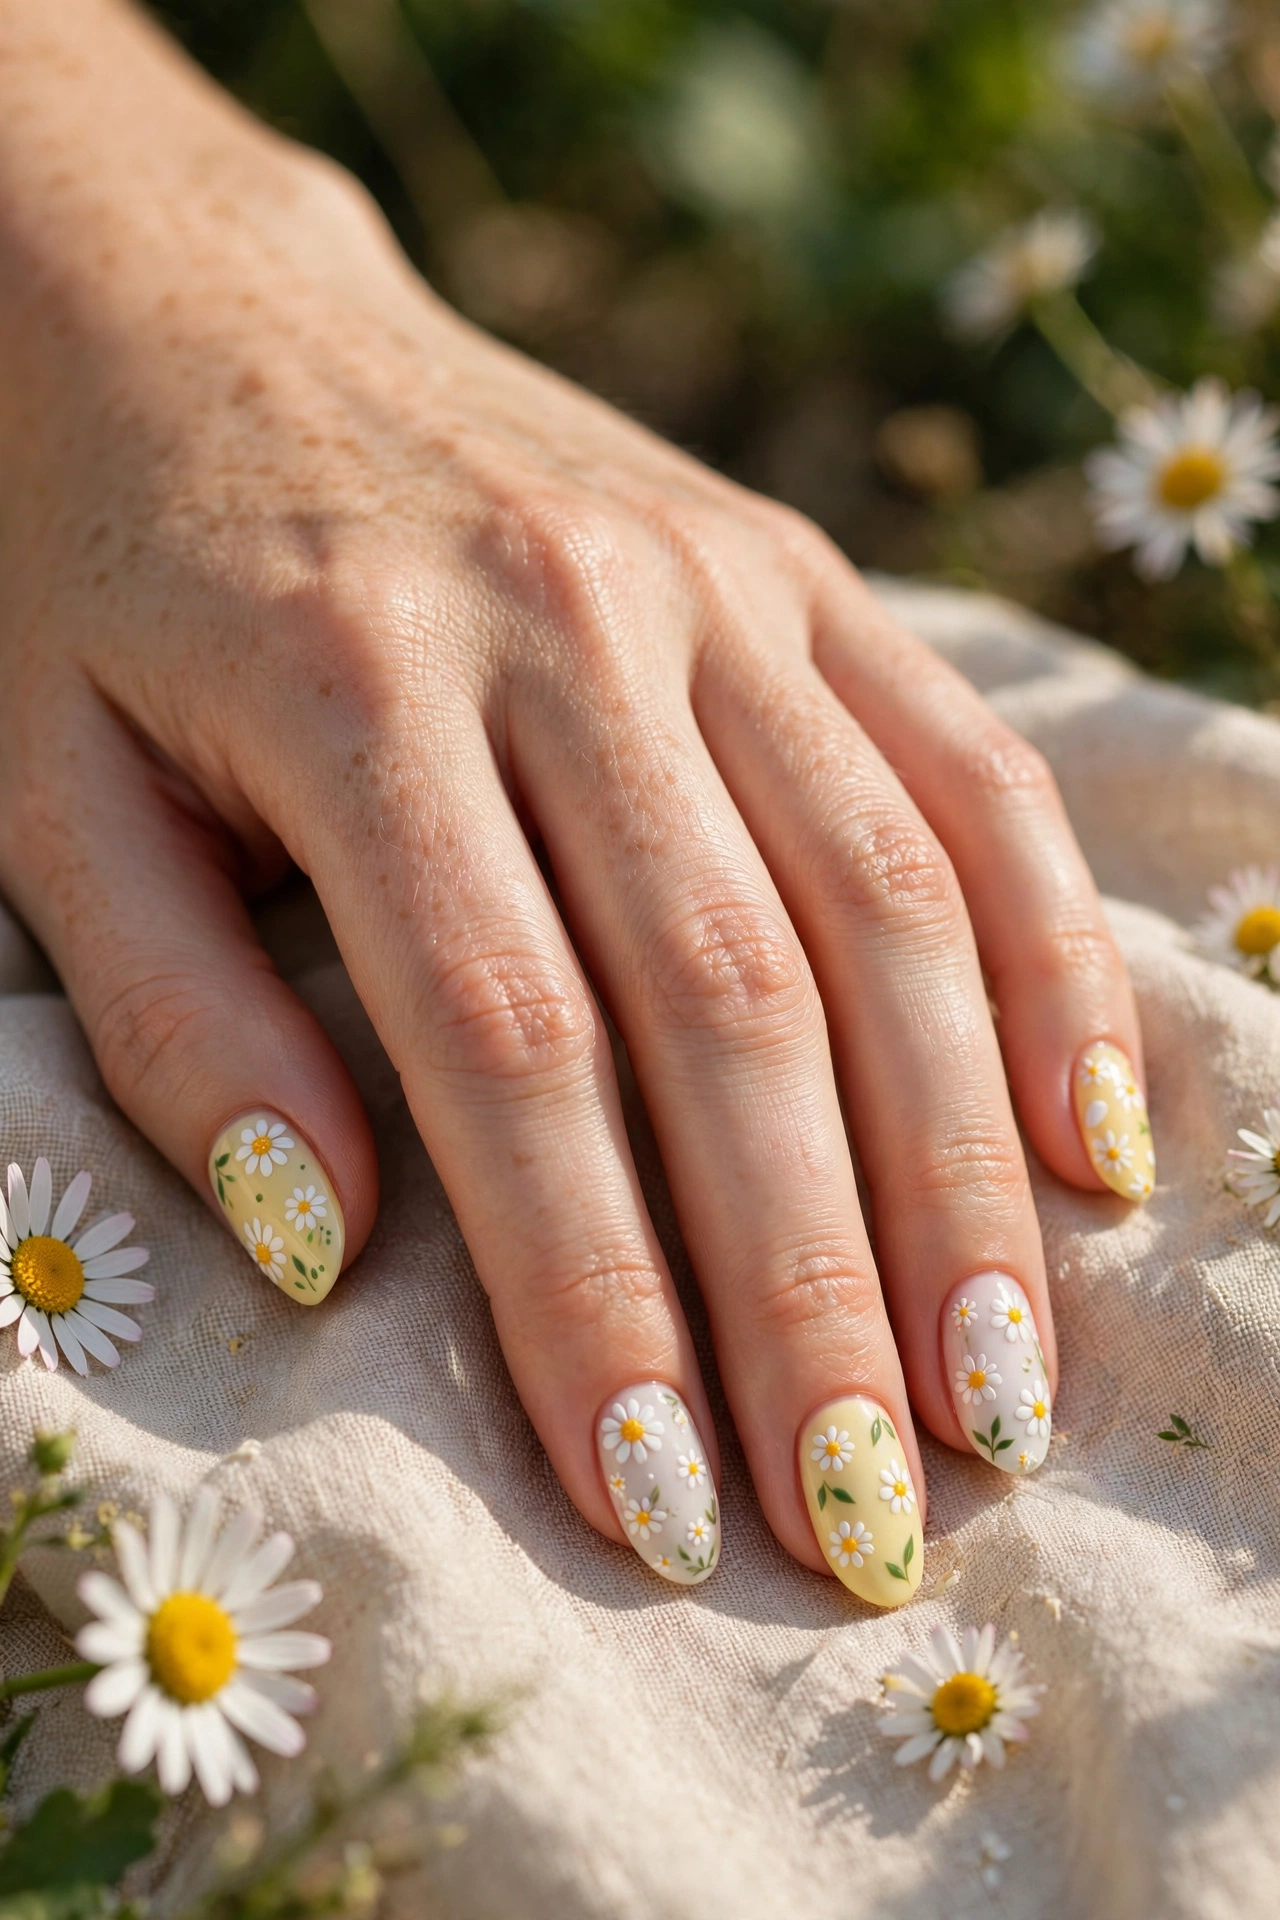
This is where yellow and white really shine. Daisies are naturally yellow and white, lemons are made for this color pair, and a soft yellow-to-white fade looks like sunshine in a manicure. These designs take a little more time, but the results are the ones people save and share.
Decide in advance how many art nails you want. Two accent nails per hand is a sweet spot for most people: enough art to notice, not so much that the set feels busy or takes forever to finish.
Daisy and Small Flower Nail Art
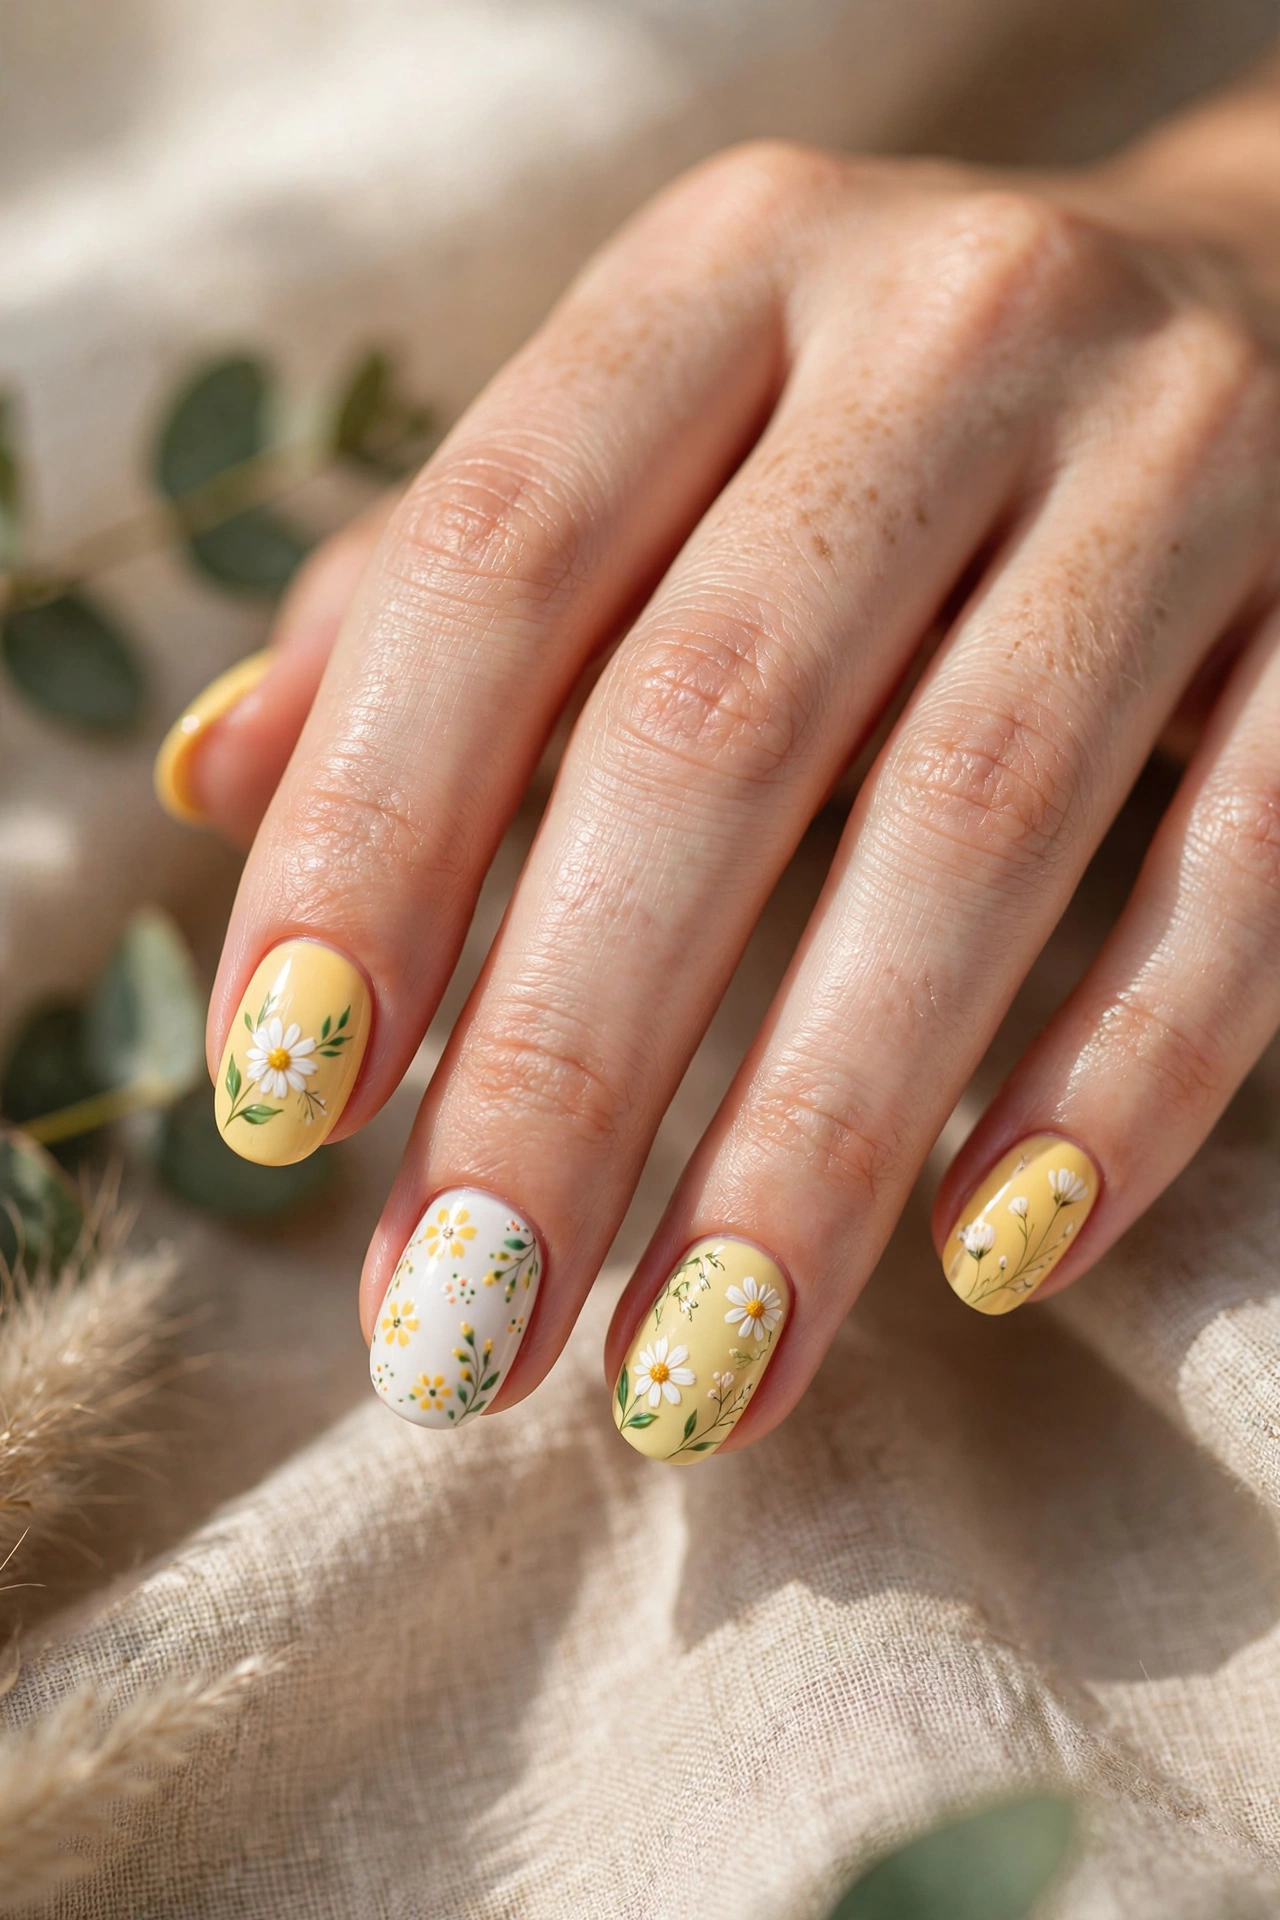
A classic daisy is simple once you break it down: five small white petals made with dots pulled slightly inward, and a yellow dot in the center. On a pale yellow base, swap the colors and do yellow petals with a white or gold center. Practice on paper first. Petals do not need to be perfect or identical, real flowers are not either.
Place one full daisy on an accent nail, or do tiny half-daisies peeking from a corner or tip on several nails. That corner placement is very forgiving, because you only paint half a flower and the nail edge hides the rest. Add a tiny green dot for a leaf only if you want a third color. Many women prefer keeping the set strictly yellow and white for a cleaner look.
Common mistake to avoid: loading too much polish on the dotting tool. Big blobs spread and lose the petal shape. Dip lightly, dot once on paper to remove the excess, then dot the nail. Thin layers that you can add to will always beat one thick blob.
Lemon Art and Yellow Ombre Nails
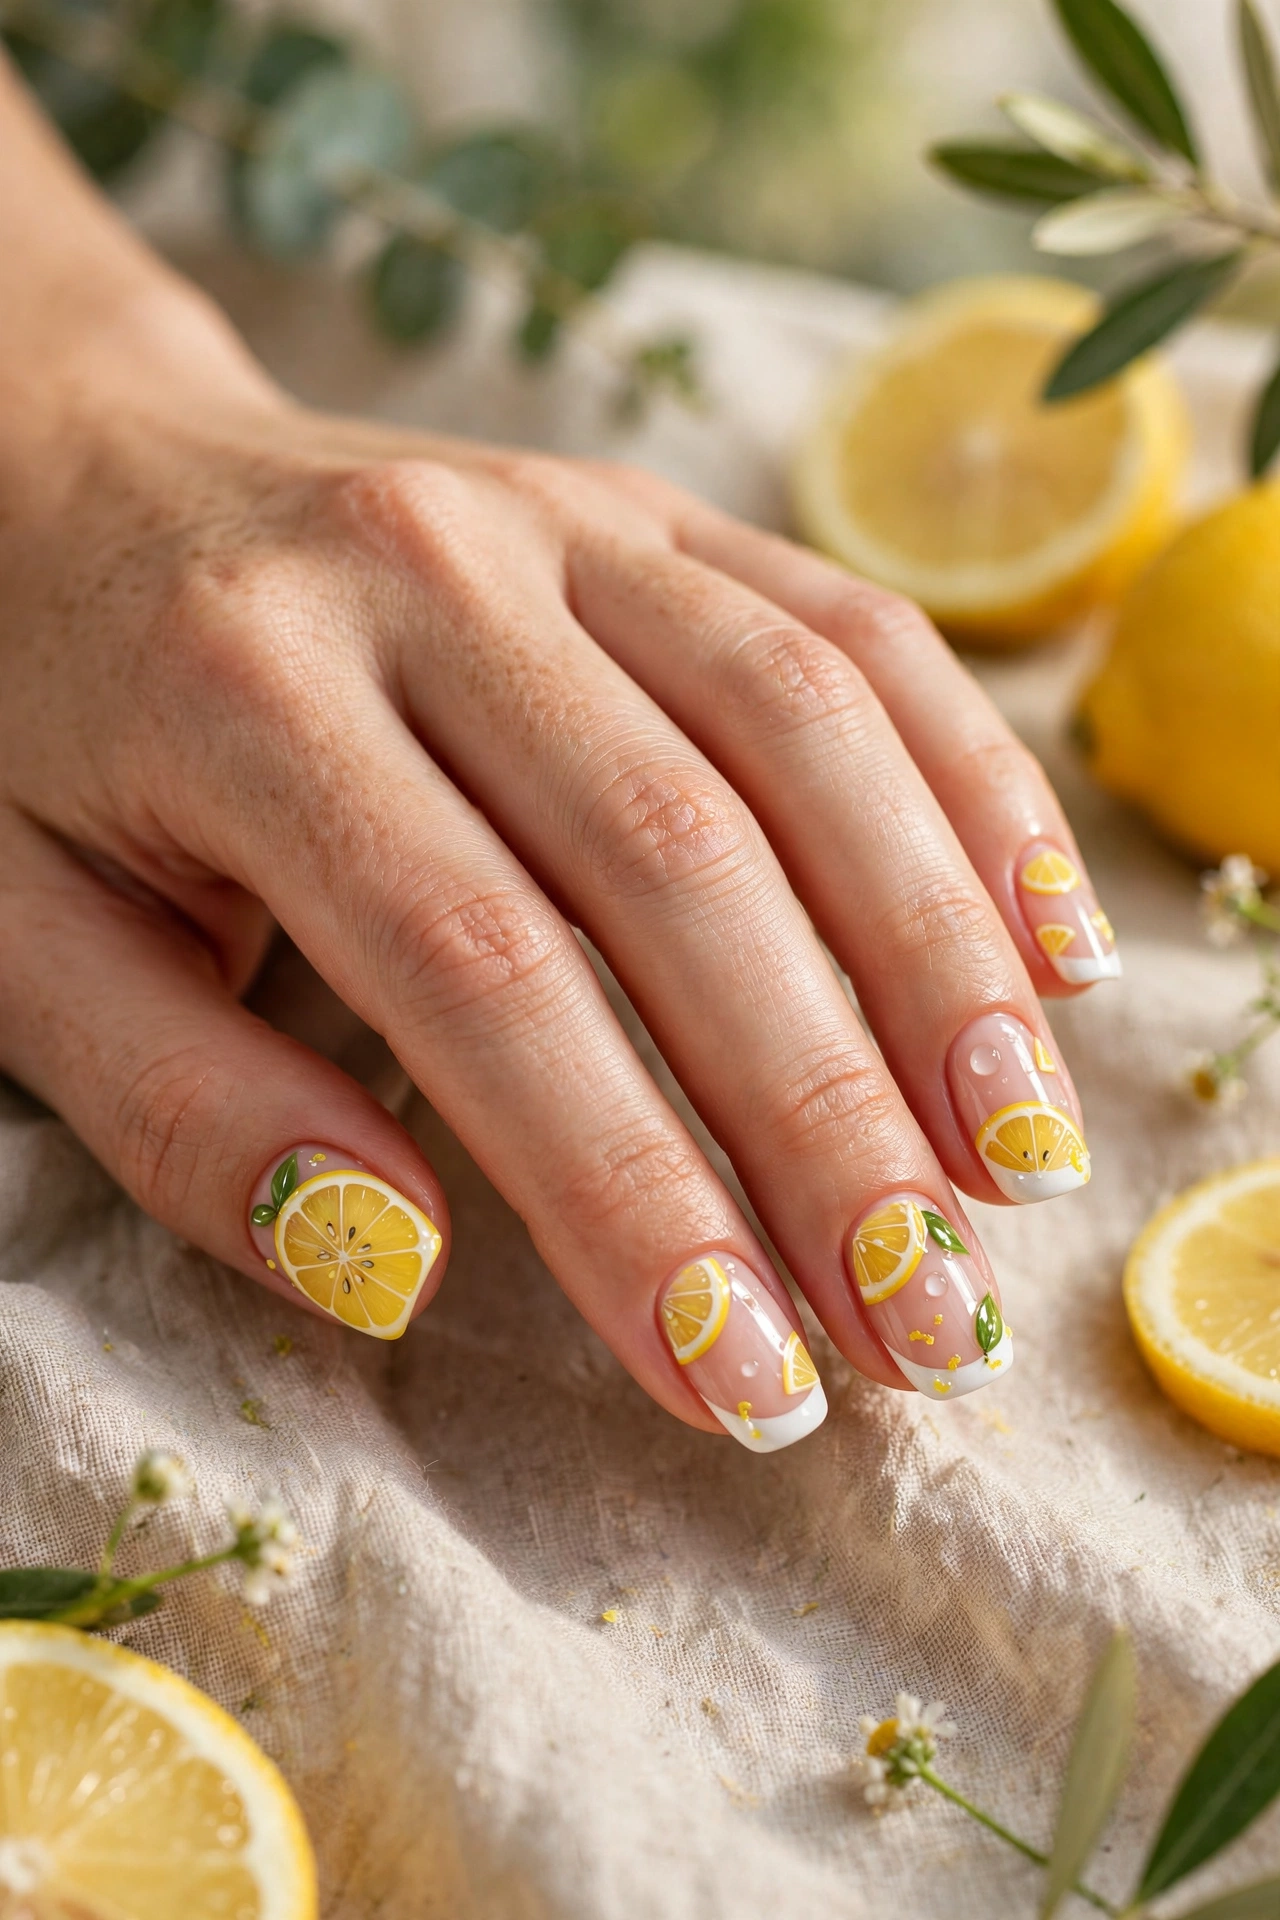
Lemon slice art is the boldest happy design in this list. Paint a white base, add a yellow half-circle near the tip or corner, then use a fine brush or a toothpick with white polish to add thin segment lines. Keep it to one or two nails and pair it with simple yellow or white nails on the rest. A whole set of lemon slices can overwhelm, while one slice per hand looks clever and fresh.
Yellow ombre nails are softer. Sponge white at the base fading into yellow at the tip, or the other way around, using a small makeup sponge and dabbing in light layers. Sponge work always looks messy before top coat and smooth after, so do not judge it too early. Two or three thin dabbed layers plus a glossy top coat gives that blended, airy finish.
Both designs last longer with gel or a good top coat refreshed every few days. Ombre especially can show wear at the tips, so cap the free edge with top coat, meaning run the brush along the very end of the nail, each time you reapply.
Making Your Manicure Last Without Staining
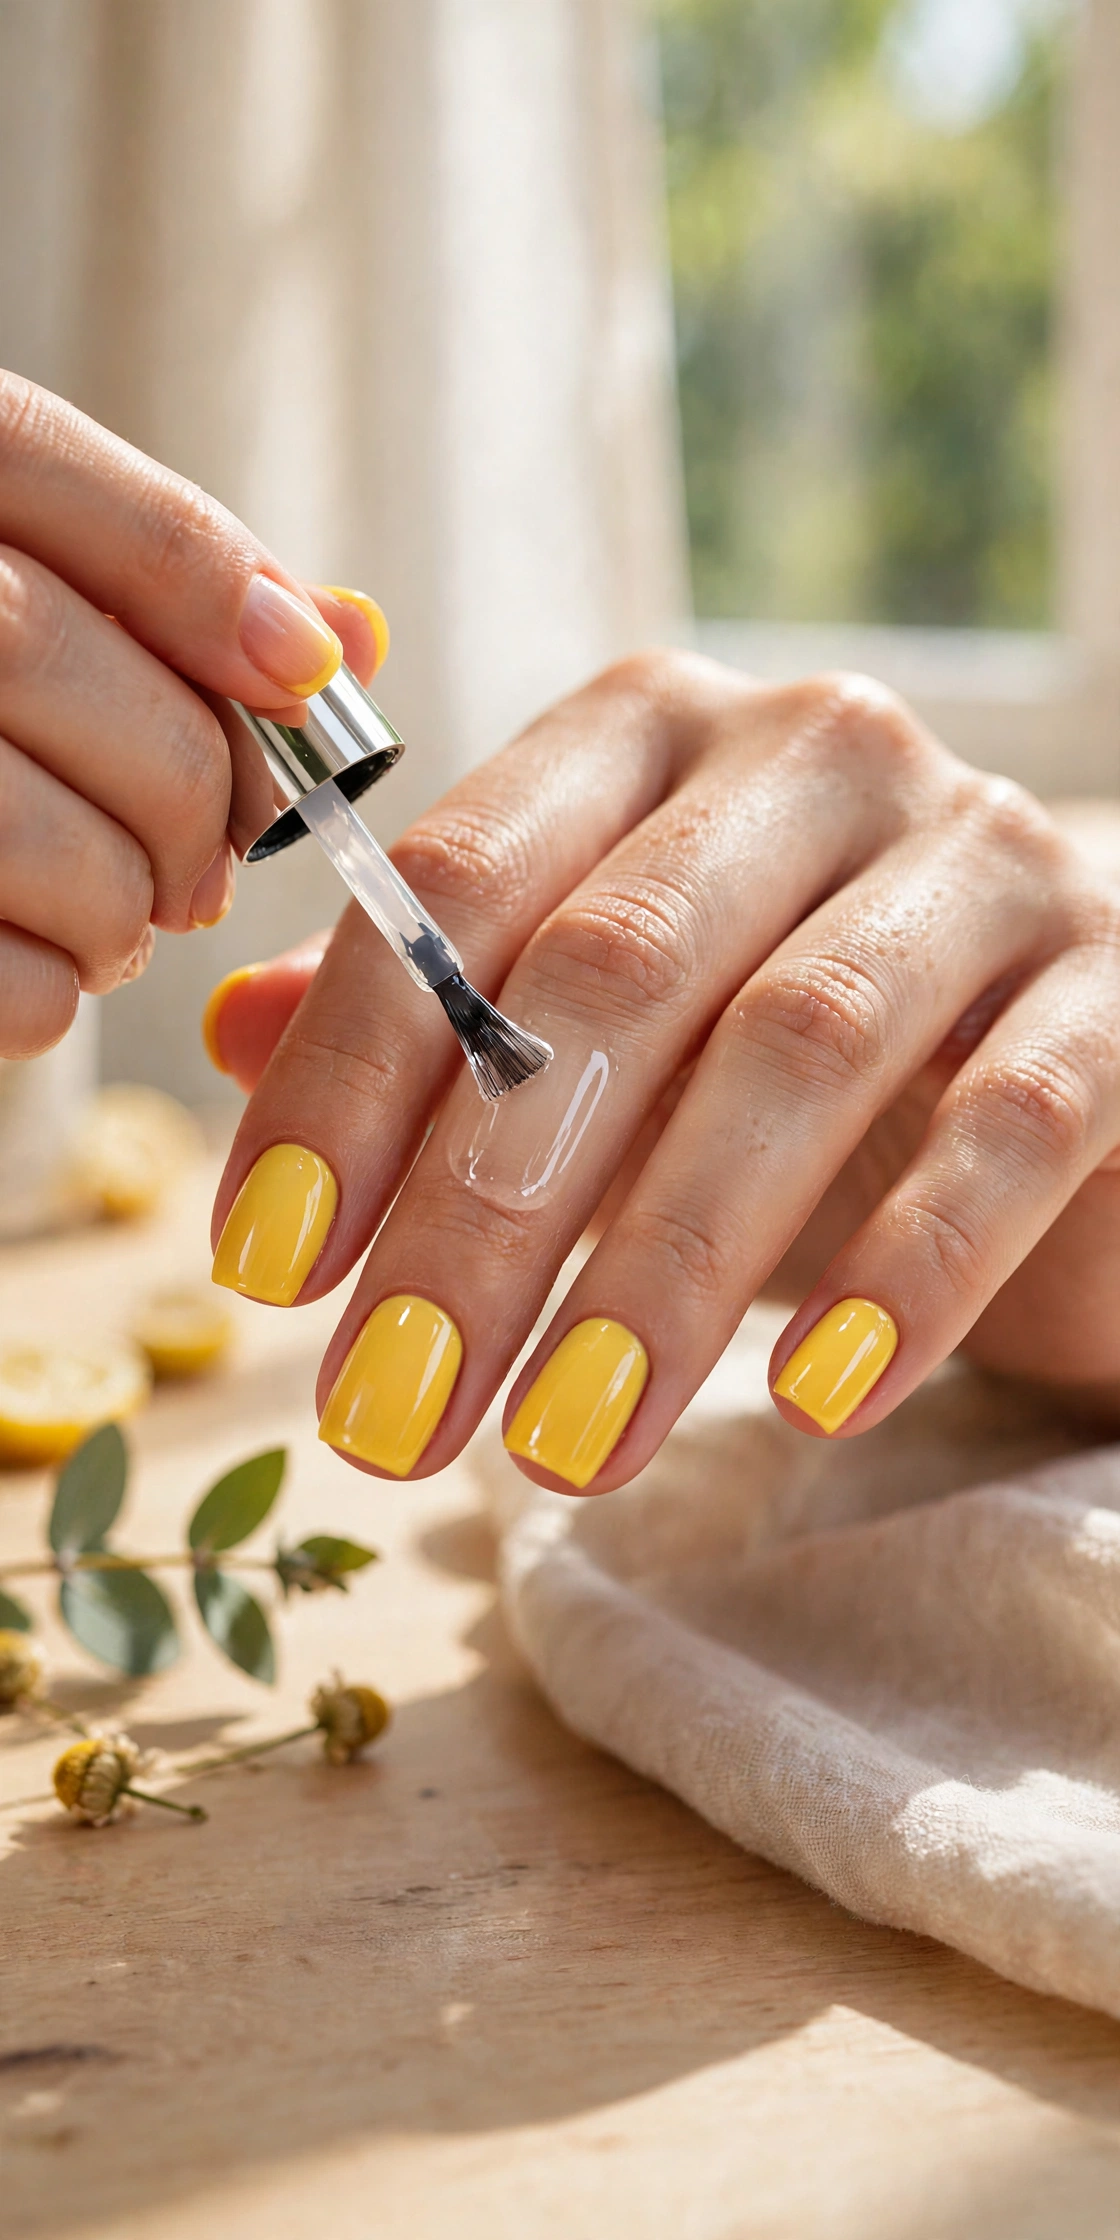
A pretty design deserves more than two good days. How you prep and how you treat your nails after matters as much as the art. Yellow polish also has one special issue worth knowing about before you start, and it is easy to prevent.
Good news first: most chipping starts at the tips and around dry, peeling nail edges. Gentle prep and daily habits fix most of it, no salon needed.
OPI’s blog also shares manicure guidance for keeping color strong between sets.
Prep, Base Coat, and the Yellow Staining Fix
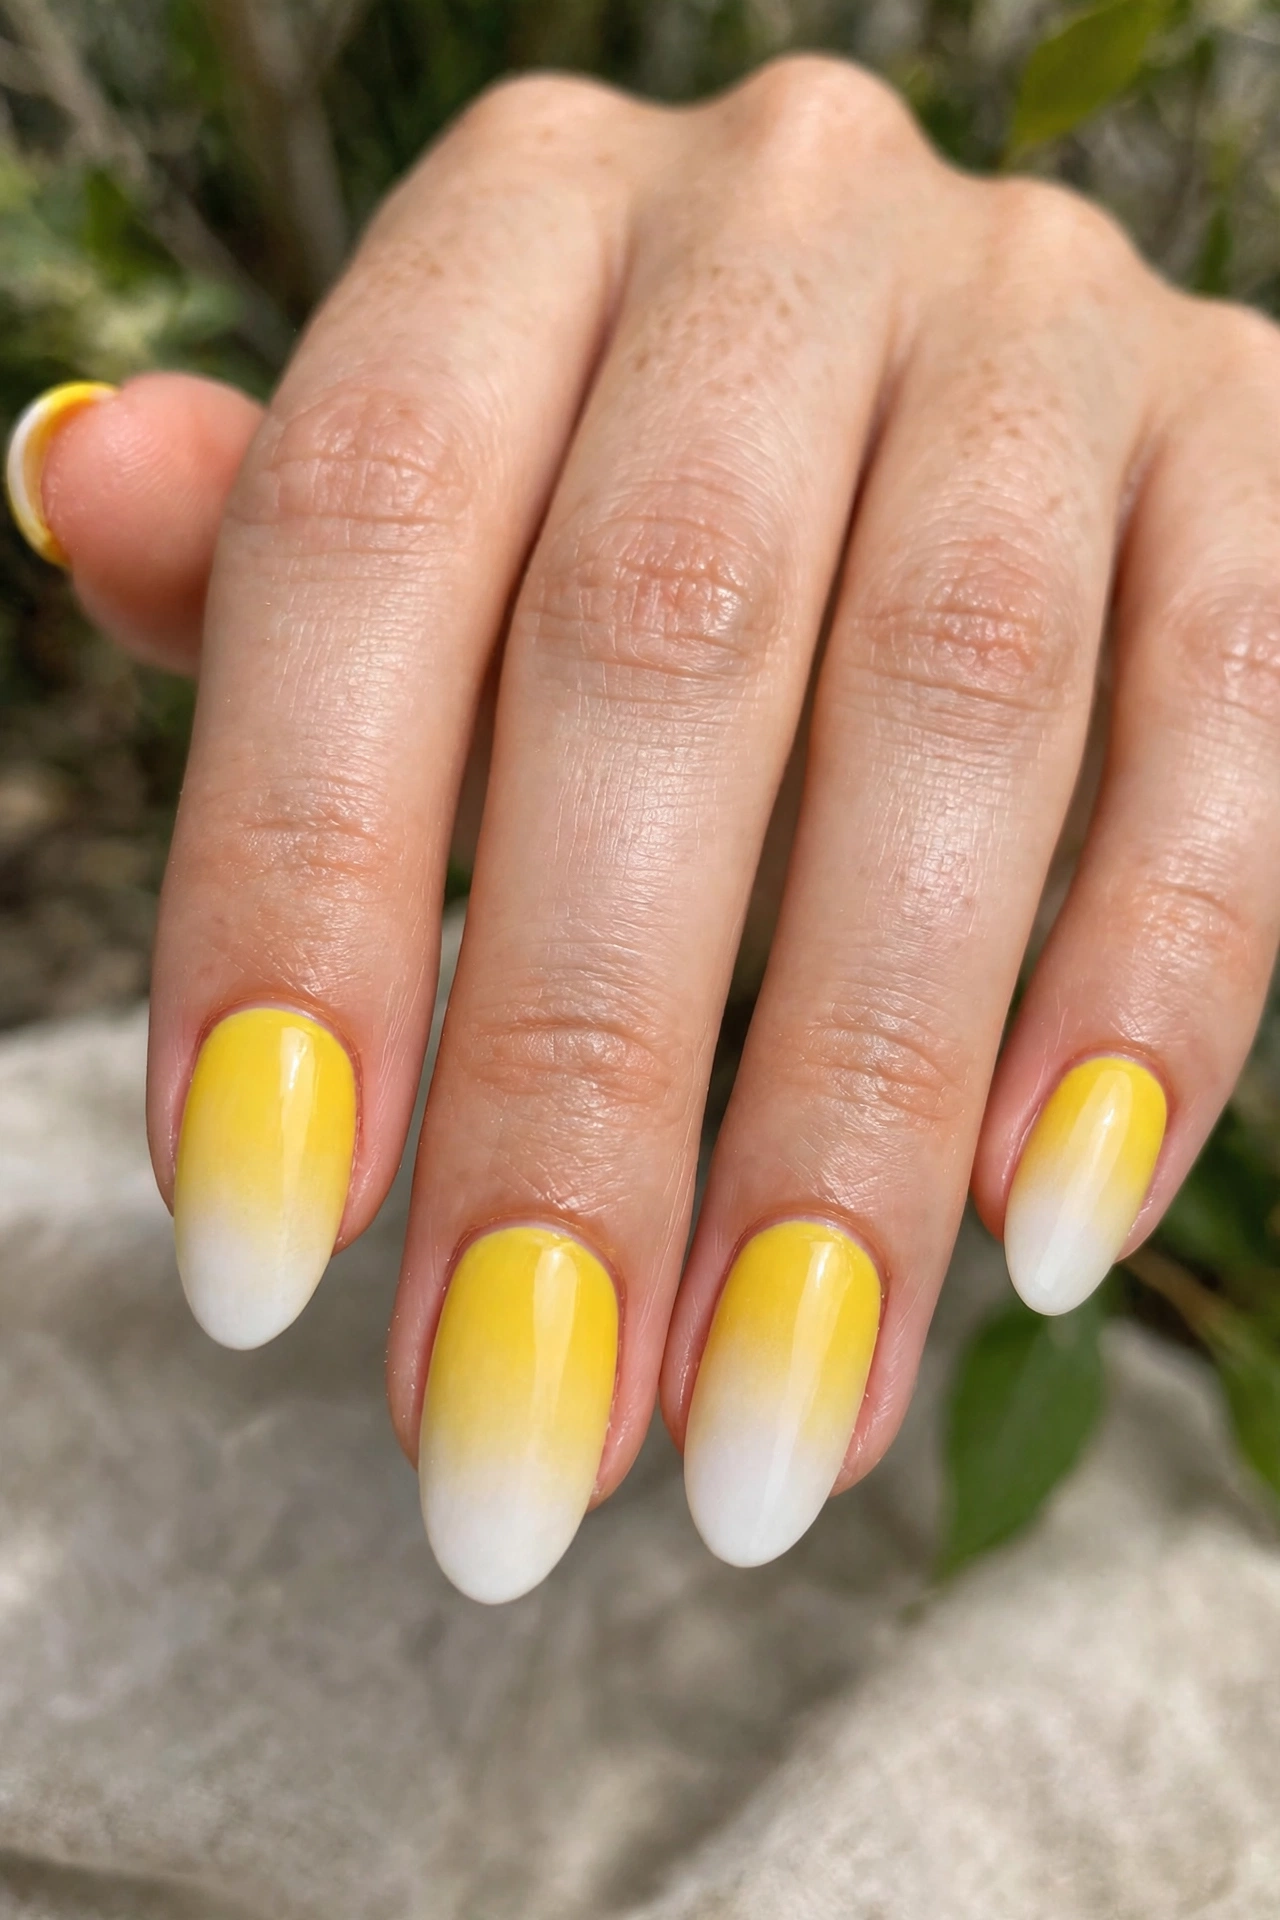
Start with clean, dry nails. Push cuticles back gently after a shower when they are soft, trim only loose hangnails, and shape with a fine file in one direction as much as you can, rather than sawing back and forth. Wipe nails with polish remover or alcohol before polish, even if you were not wearing any, to remove oils that stop polish sticking.
Never skip base coat with yellow polish. Yellow pigments can leave a faint stain on natural nails, especially if you wear the color for weeks or use a deep mustard shade. A proper base coat creates a barrier and also helps the manicure grip. If you already have light staining from a past color, it usually grows out, and a gentle buff plus a milky base under your next manicure makes it far less noticeable while it does.
Apply color in thin coats and let each coat get mostly dry before the next. Two thin coats look smoother and last longer than one thick coat, which bubbles and peels more easily. Finish with top coat, cap the edges, and be patient for the first hour. Most dents and smudges happen when nails feel dry on top but are still soft underneath.
Daily Care, Removal, and When to Keep It Simple
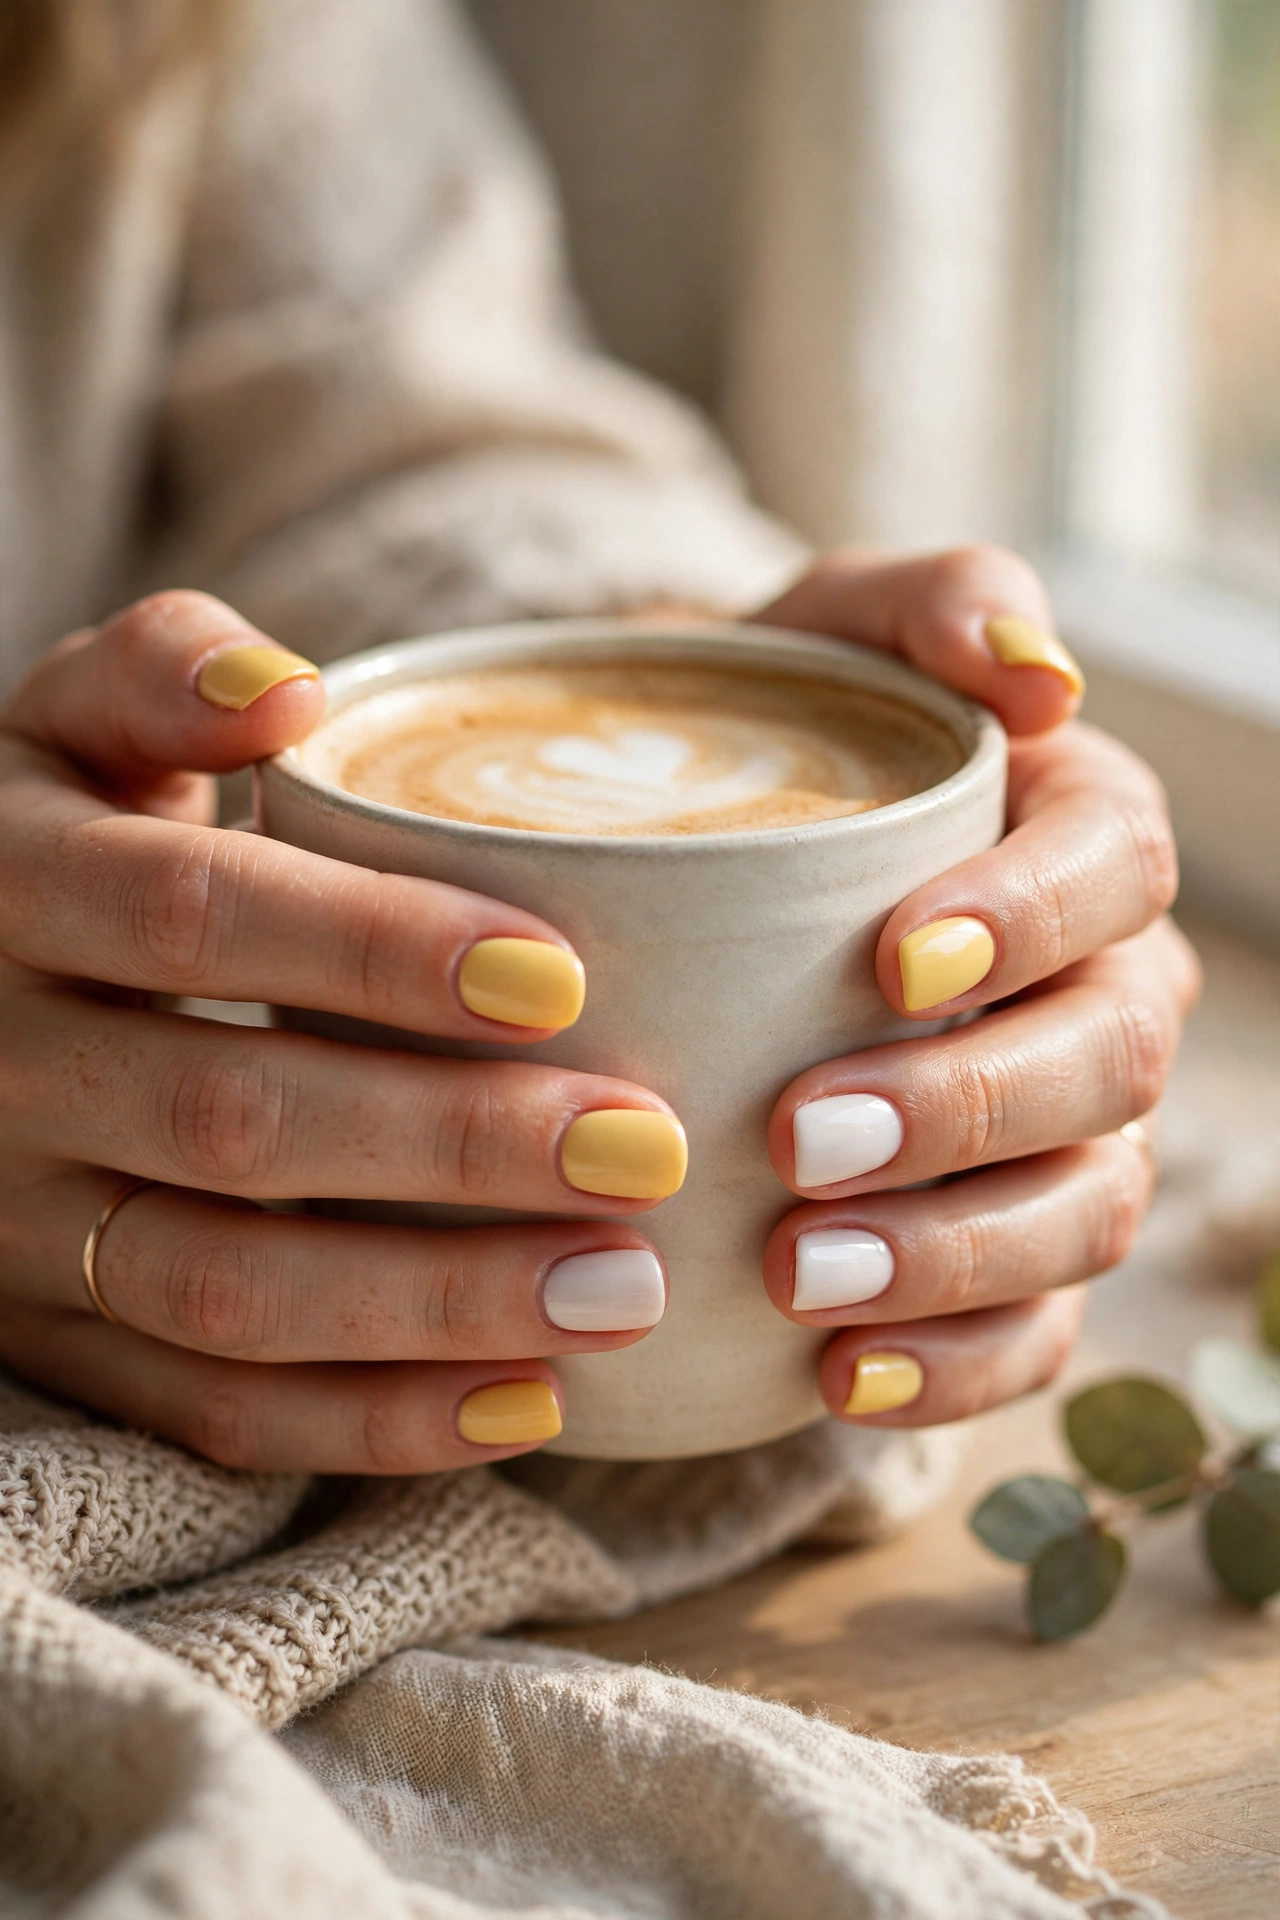
Treat your nails like a manicure, not like tools. Use gloves for dishes and cleaning, open cans with a utensil, and add a drop of cuticle oil daily if you have it. Hydrated nails flex a little instead of snapping, and cuticles that are cared for make any design look neater in photos.
Remove gel or glitter finishes properly instead of peeling them. Peeling pulls up layers of your natural nail and leaves them thin and sore for the next set. Soak-off removal takes a few extra minutes but keeps your nails strong enough to enjoy the next idea on this list.
And know when simple wins. For job interviews, formal events, or weeks when your hands will be in close-up photos, a clean yellow French tip or a soft pastel set is a smarter pick than busy lemon art. Save the boldest designs for holidays and celebrations, where they will get the attention they deserve.
Final Thoughts on Yellow and White Nail Ideas
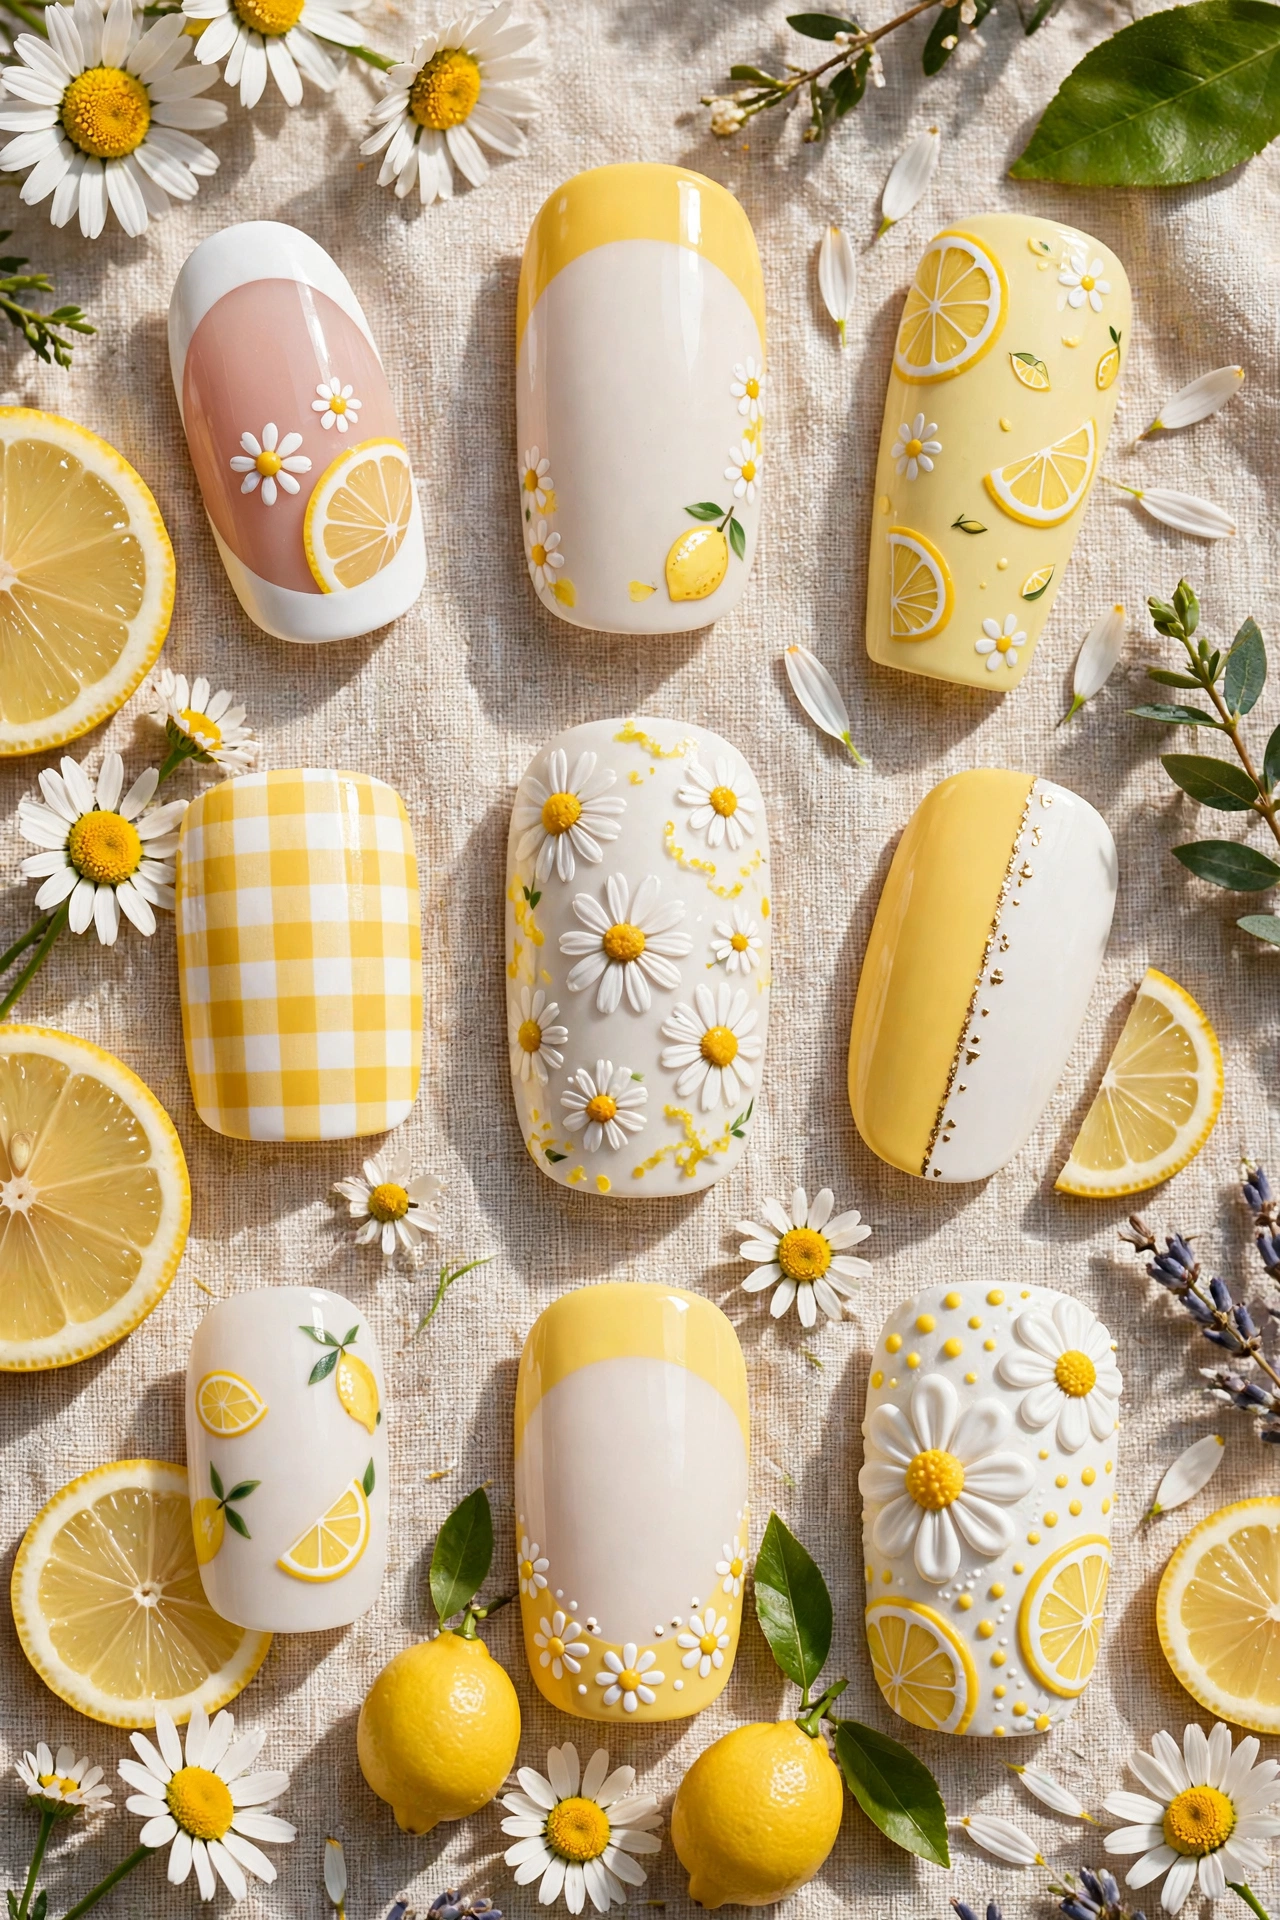
Start with one design, wear it for a full week, and notice what you loved: the shade, the shape, or the art. That tells you exactly what to try next. Save this list on Pinterest so your favorite daisies, lemons, and French tips are ready the next time you sit down at the salon or at your kitchen table, and send it to a friend who loves sunny colors. For more colors, seasons, and shapes, explore more nail ideas and beauty guides on FashionMarid and keep your inspiration board growing.